Fashion portraits in a creative light
Lights are the photographers’ brushes
I think it was the first time I tried lighting in the studio I really fell in love with photography. By then it was the easiest and most basic portrait light, but I was blown away! All of a sudden, I could create images that looked similar to the ones I saw in magazines. By that time, I was nineteen and worked in a camera store and I started to spend all my free time in the old studio in the basement.
I had always loved taking pictures but up until then it was more about documenting what I saw, then it was taking an idea for an image and then create it. As I learned more about the art of lighting, I could play around with angles and positions and give my model completely different characters depending just on the light and it was so much fun! I also learned how big a difference just moving the light a couple of centimetres could do. Especially on a face. It was like painting with different brushes and different colours and the more I learned the more different look I could create. Now I have been a full time photographer for more than fifteen years but I still love to play around and experiment with my light and I still learn new things all the time.
Four different looks in under ten minutes
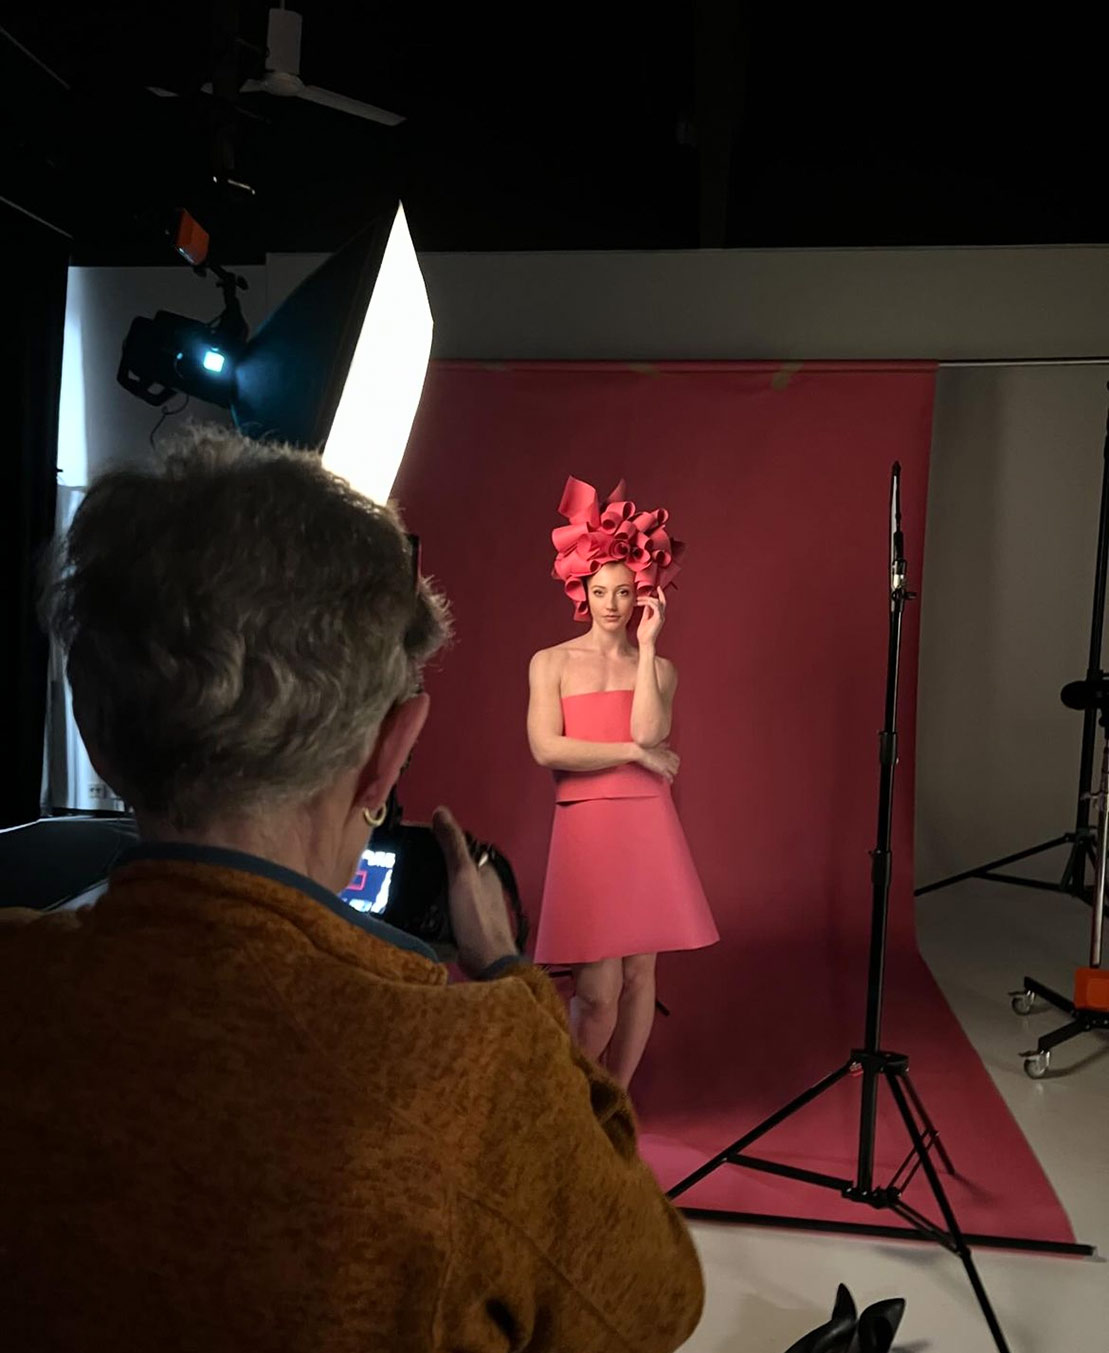
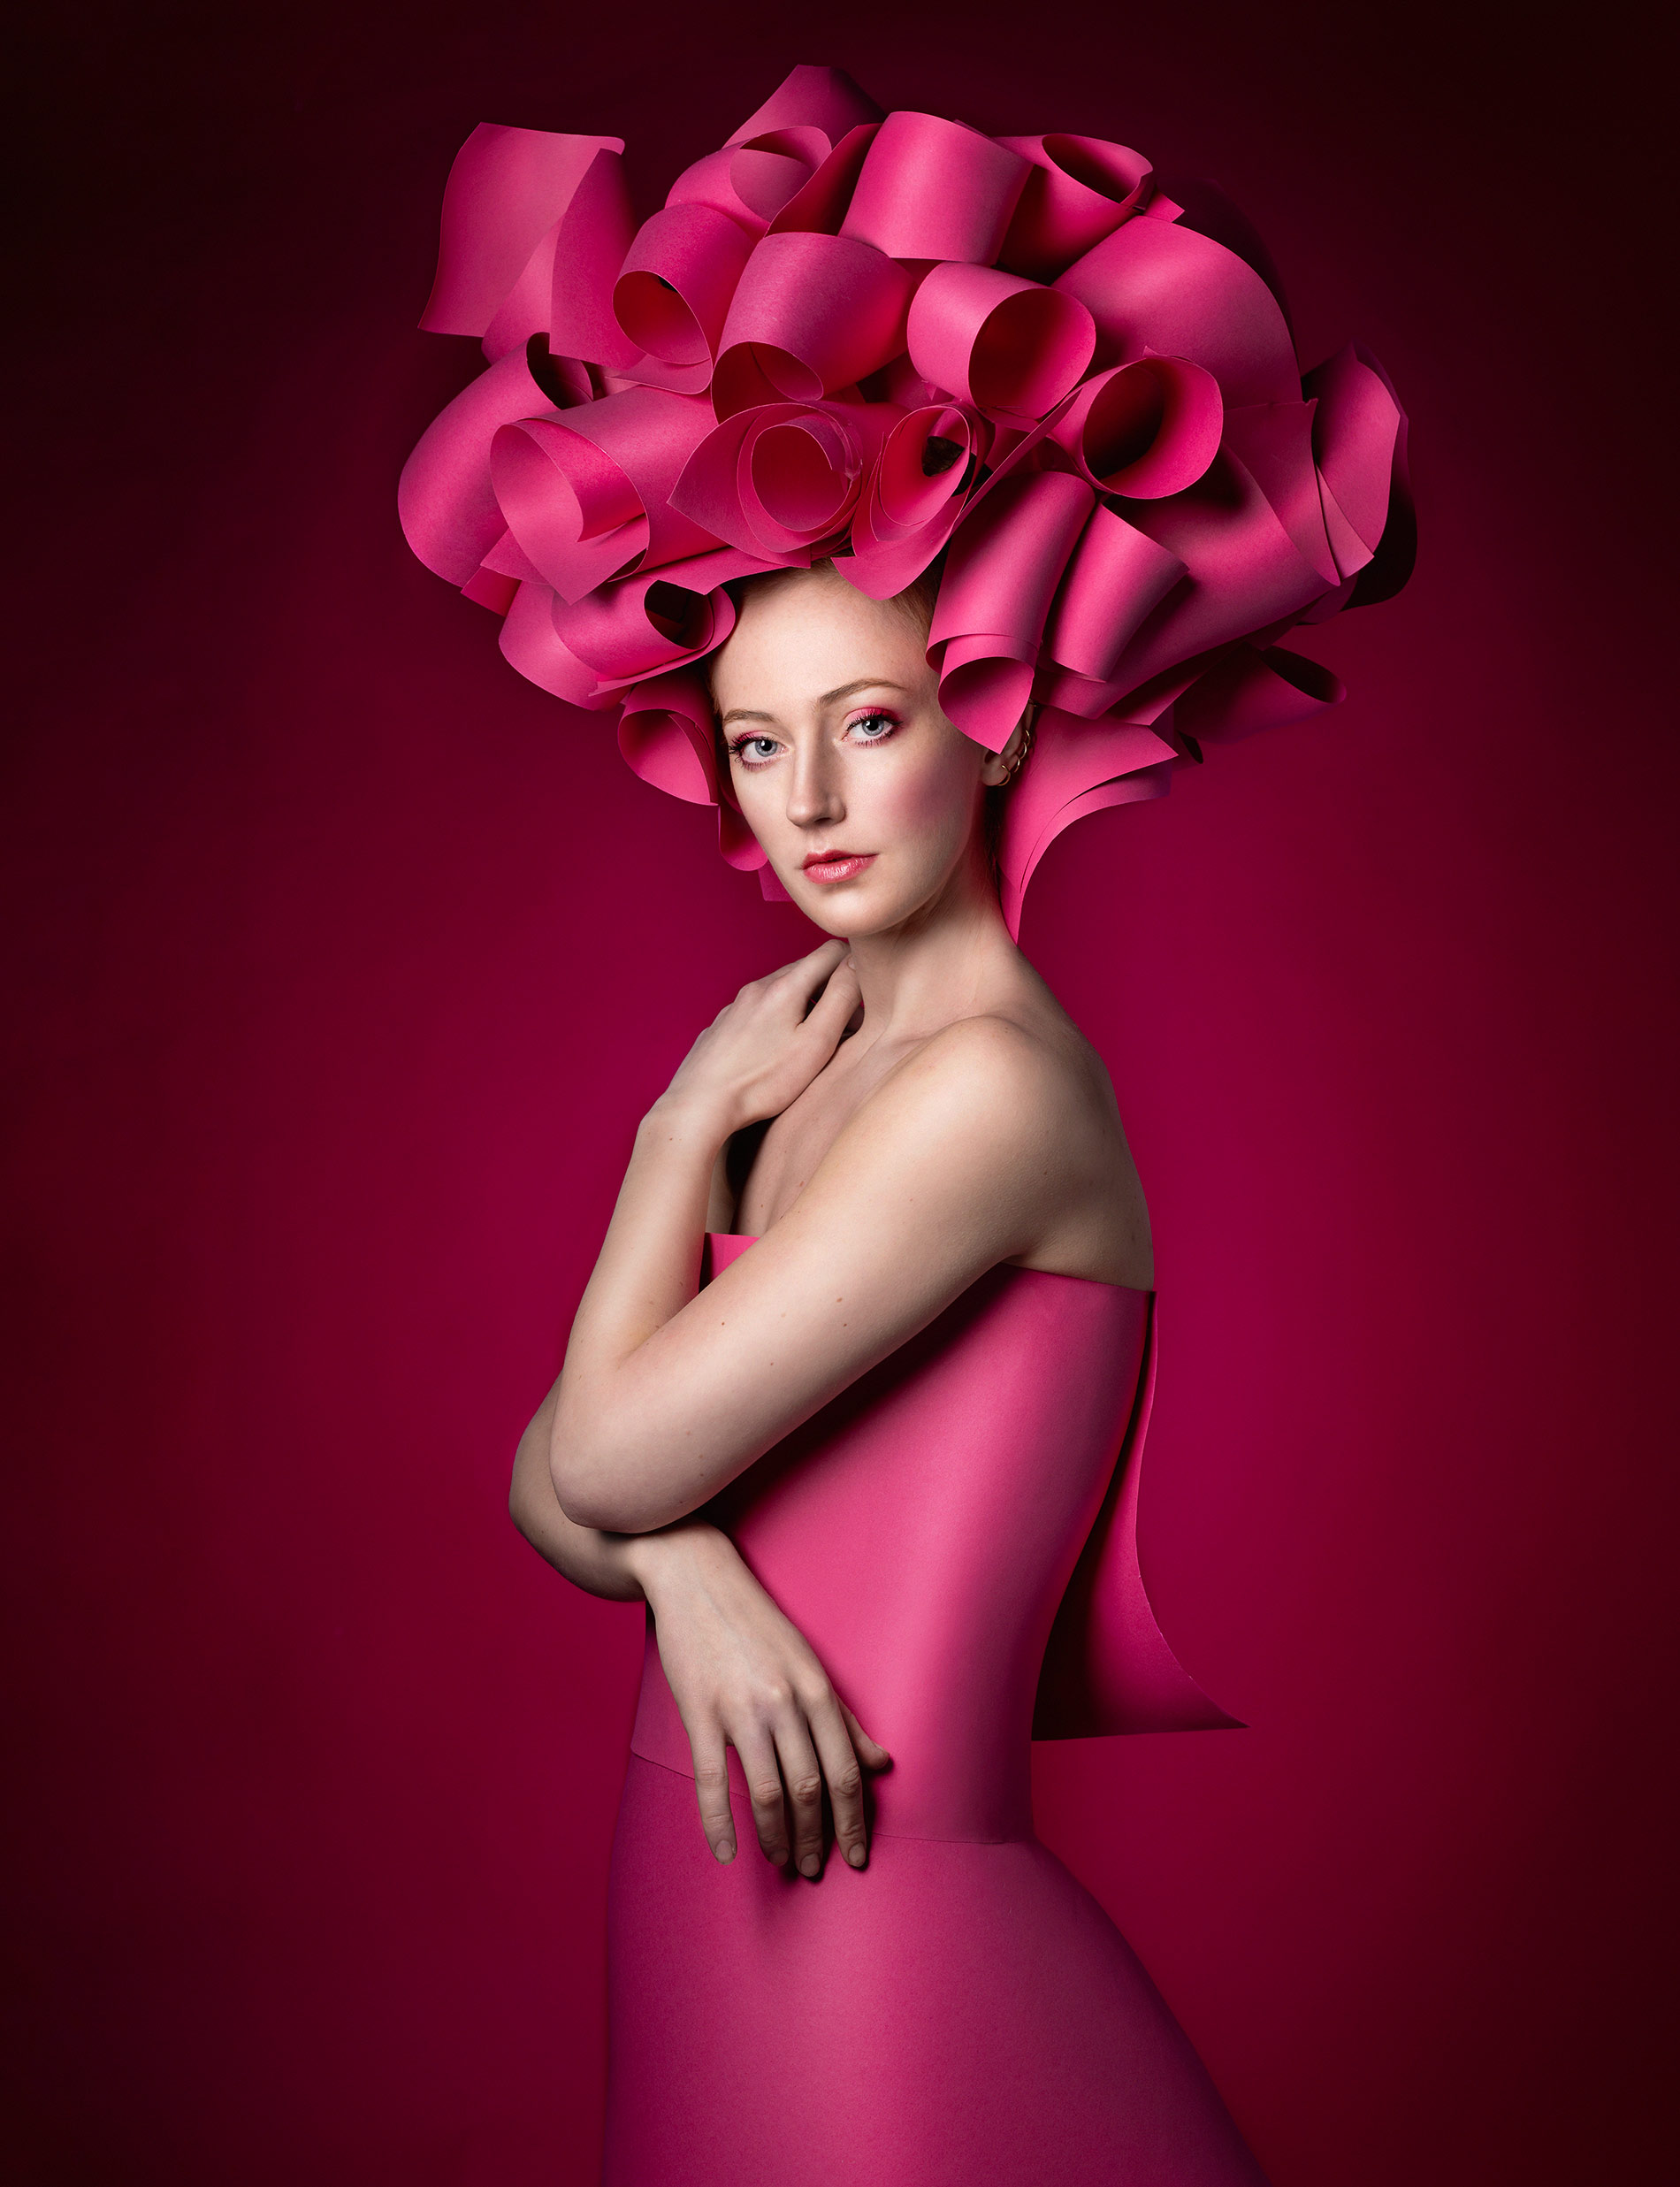
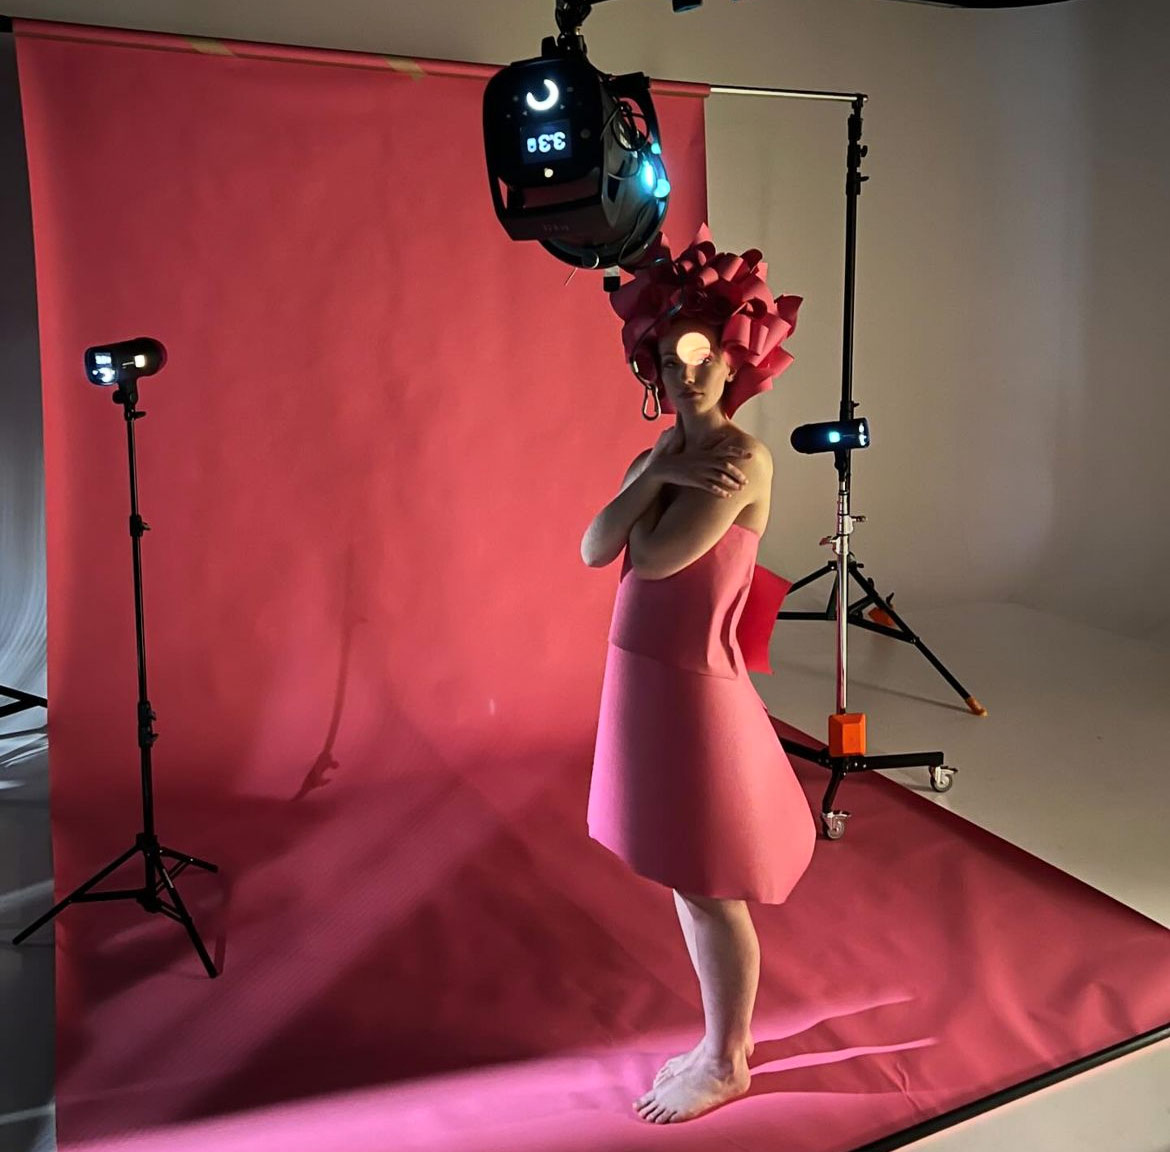
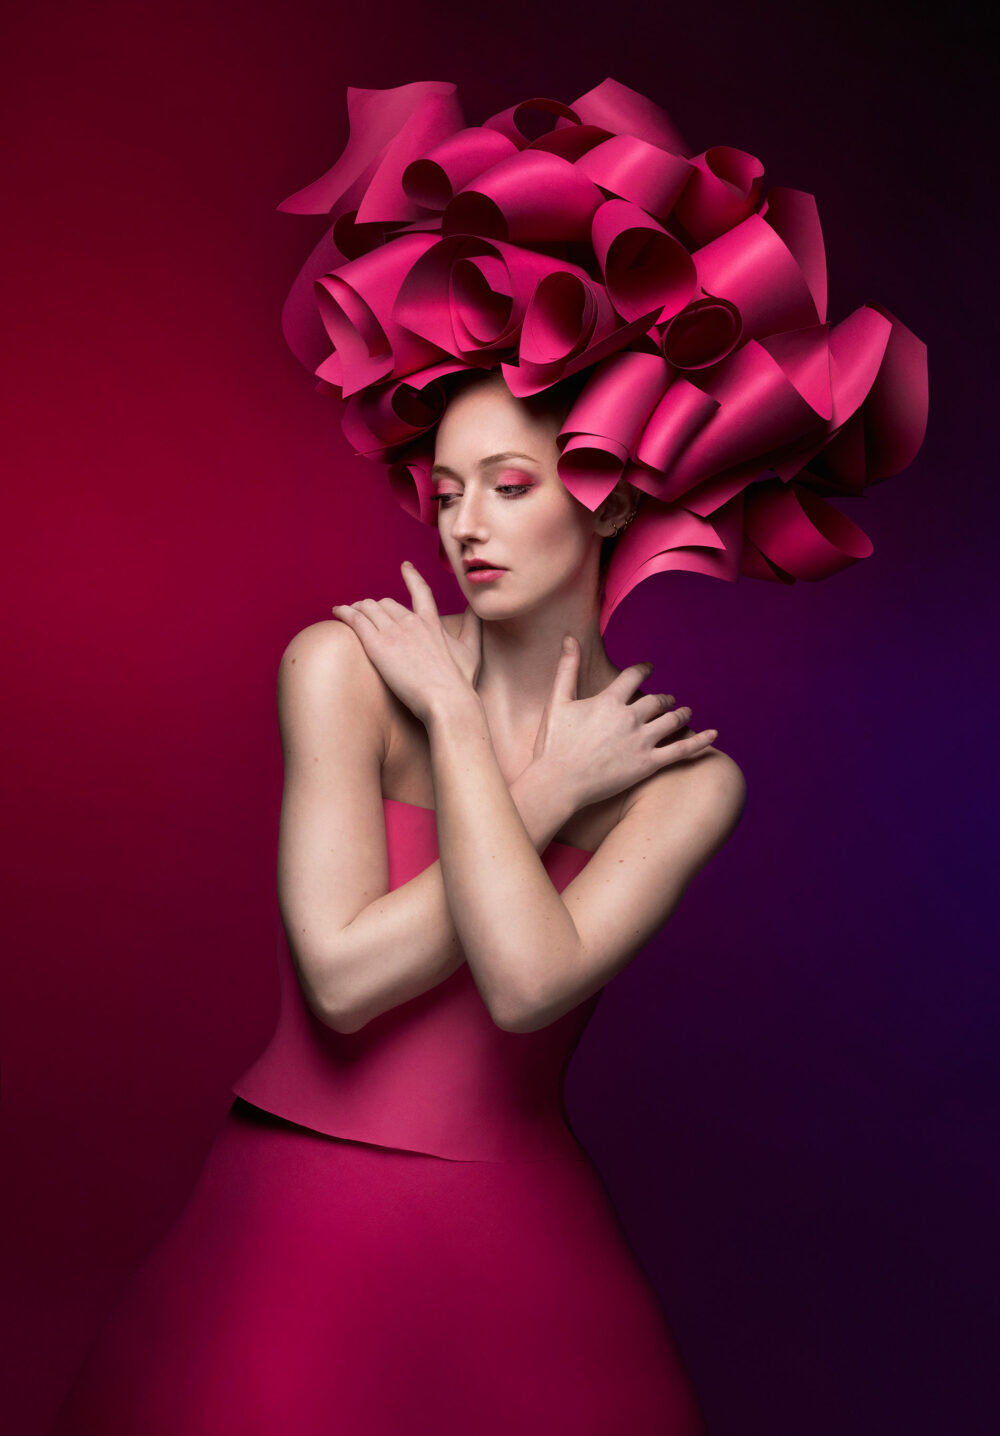
For my fashion portraits, I love to work with fun creative stylings and I am crazy about bold vibrant colours. To make them pop, I often add some coloured light either on the background or as a nice rime. For this live shoot at a workshop earlier, this year I had created a look completely made from the same background paper we used for the shoot. What I wanted to show was how easy it is to get images with different style and character from the same styling if you only make small changes to your light. The change in set up between these four images all took less than a minute. For all four images I kept it very simple and used only one light on the model and one, or two, coloured lights on the background.
“The change in set up between these four images all took less than a minute.”
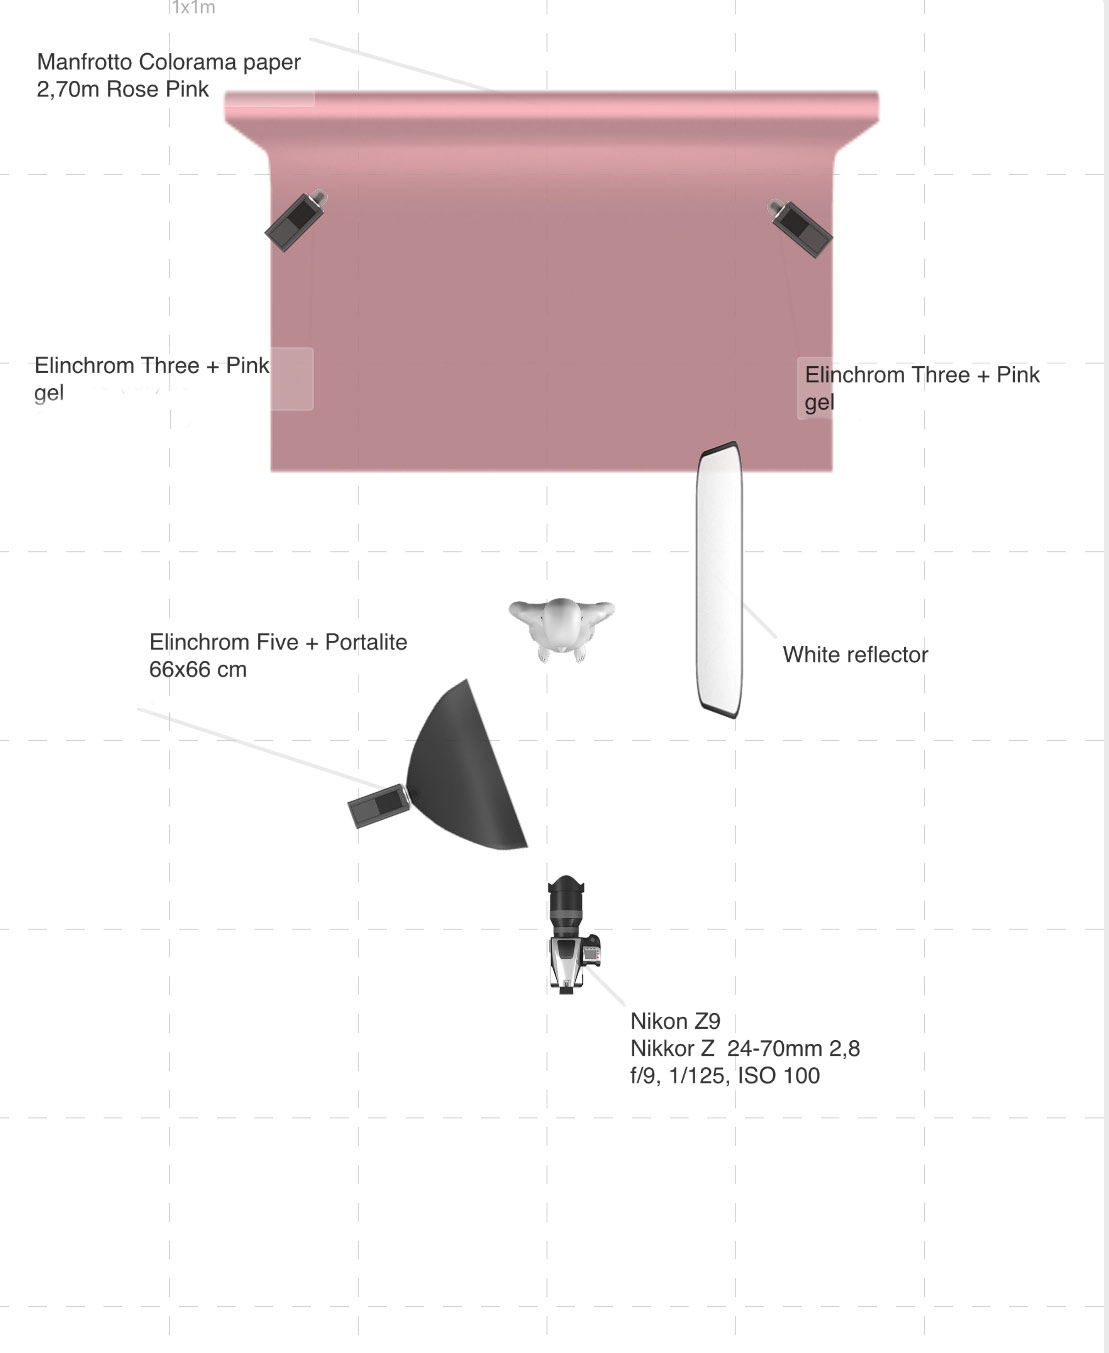
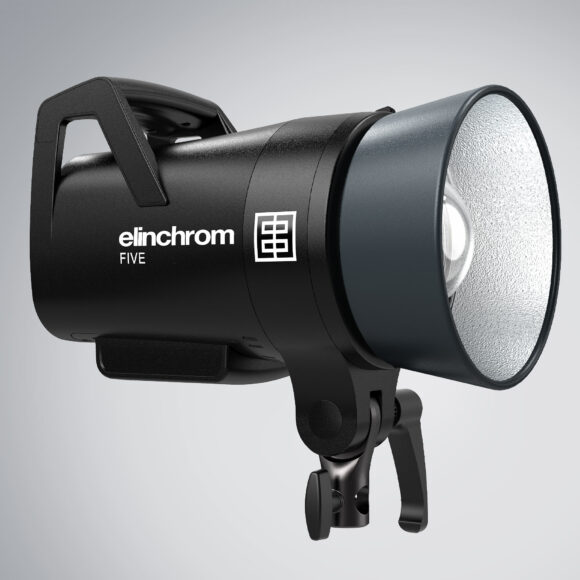
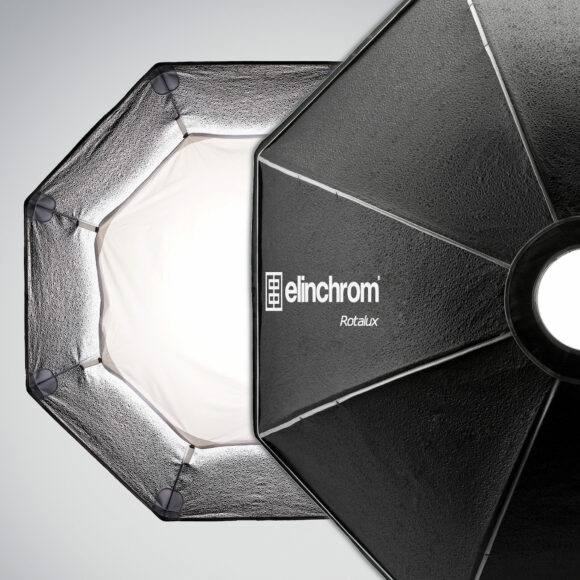
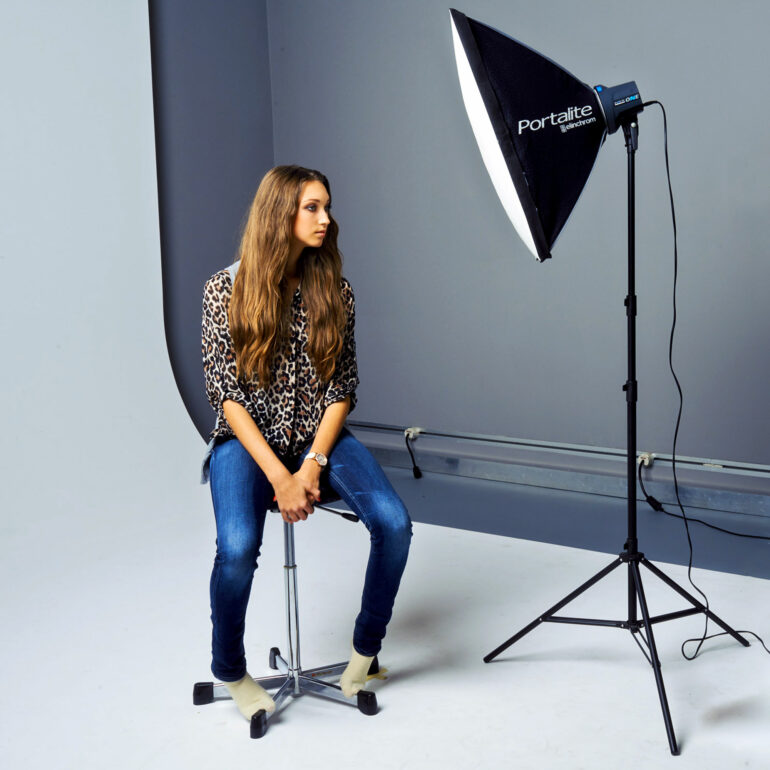
The first set up is a classical portrait light on the model. A small softbox on the Elinchrom FIVE coming from camera left, and a reflective screen to control the shadows on camera right. The background is lit with two Elinchrom THREES. One with a pink gel on and one with a blue. That, when placed on either sides of the background, gives me a nice fade from pink to blue with beautiful purple in the middle. In order not to get any of the coloured light bouncing back on the model I worked with a distance of about two and a half meters between her and the backdrop.
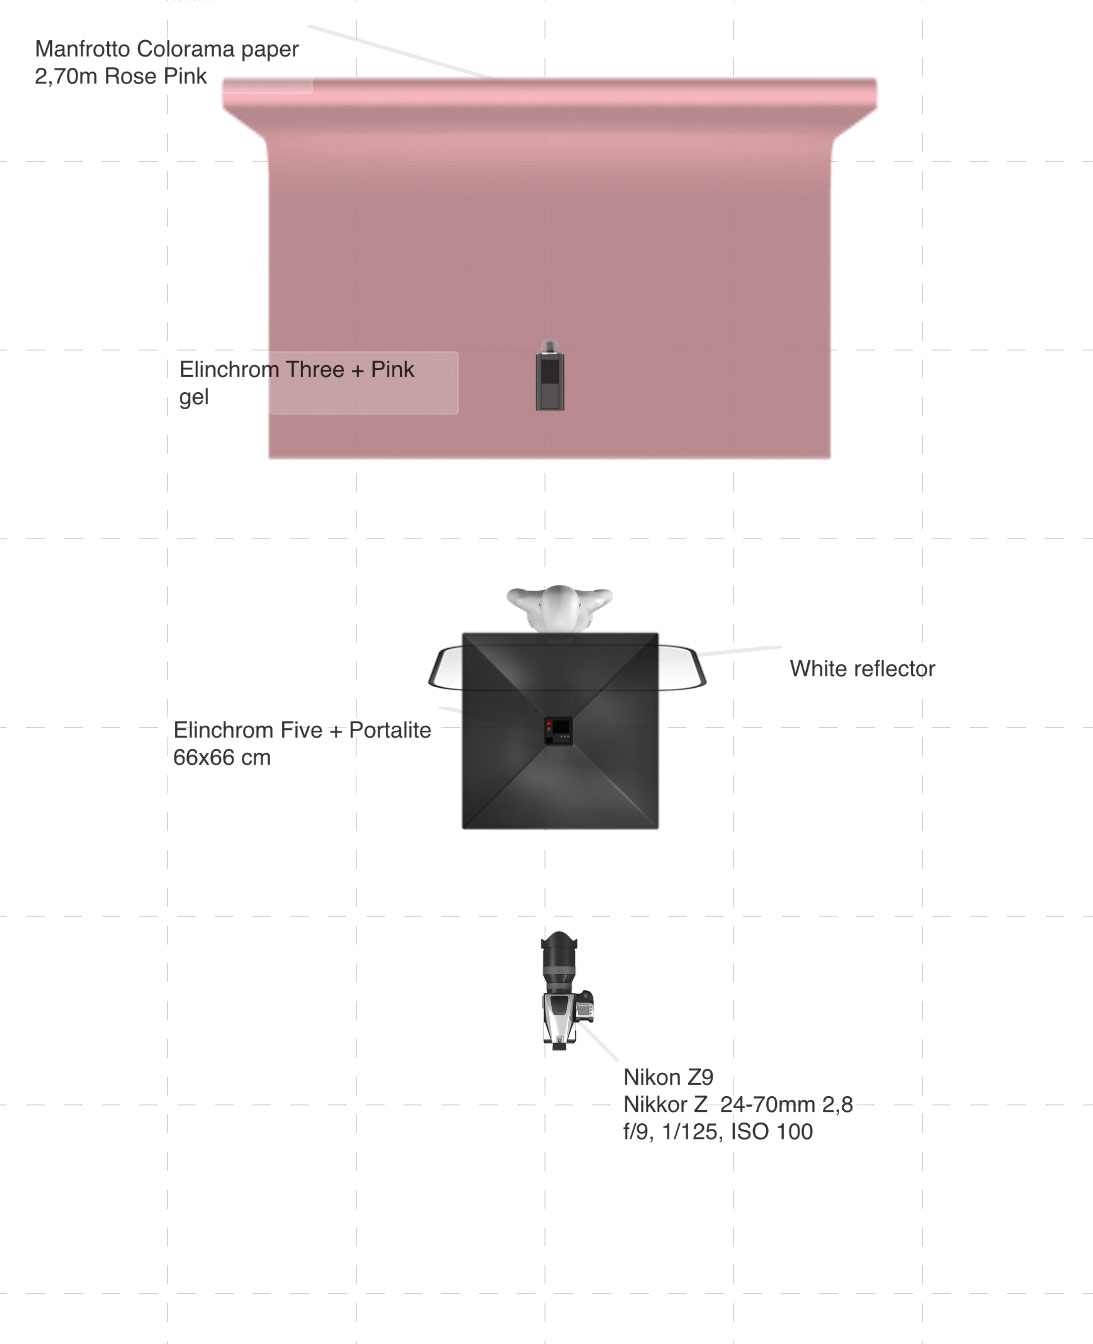
For my second set up, I moved the softbox and the screen to create a clamshell light with the soft box centred high up in front of her and the screen underneath. This gives me a symmetrical light with nice sculpturing shadows under her cheekbones and chin and on both sides of the nose. Soo pretty! For the background, I used one Elinchrom THREE with a pink gel and placed it directly behind her to get a deeper colour and a nice vignette.
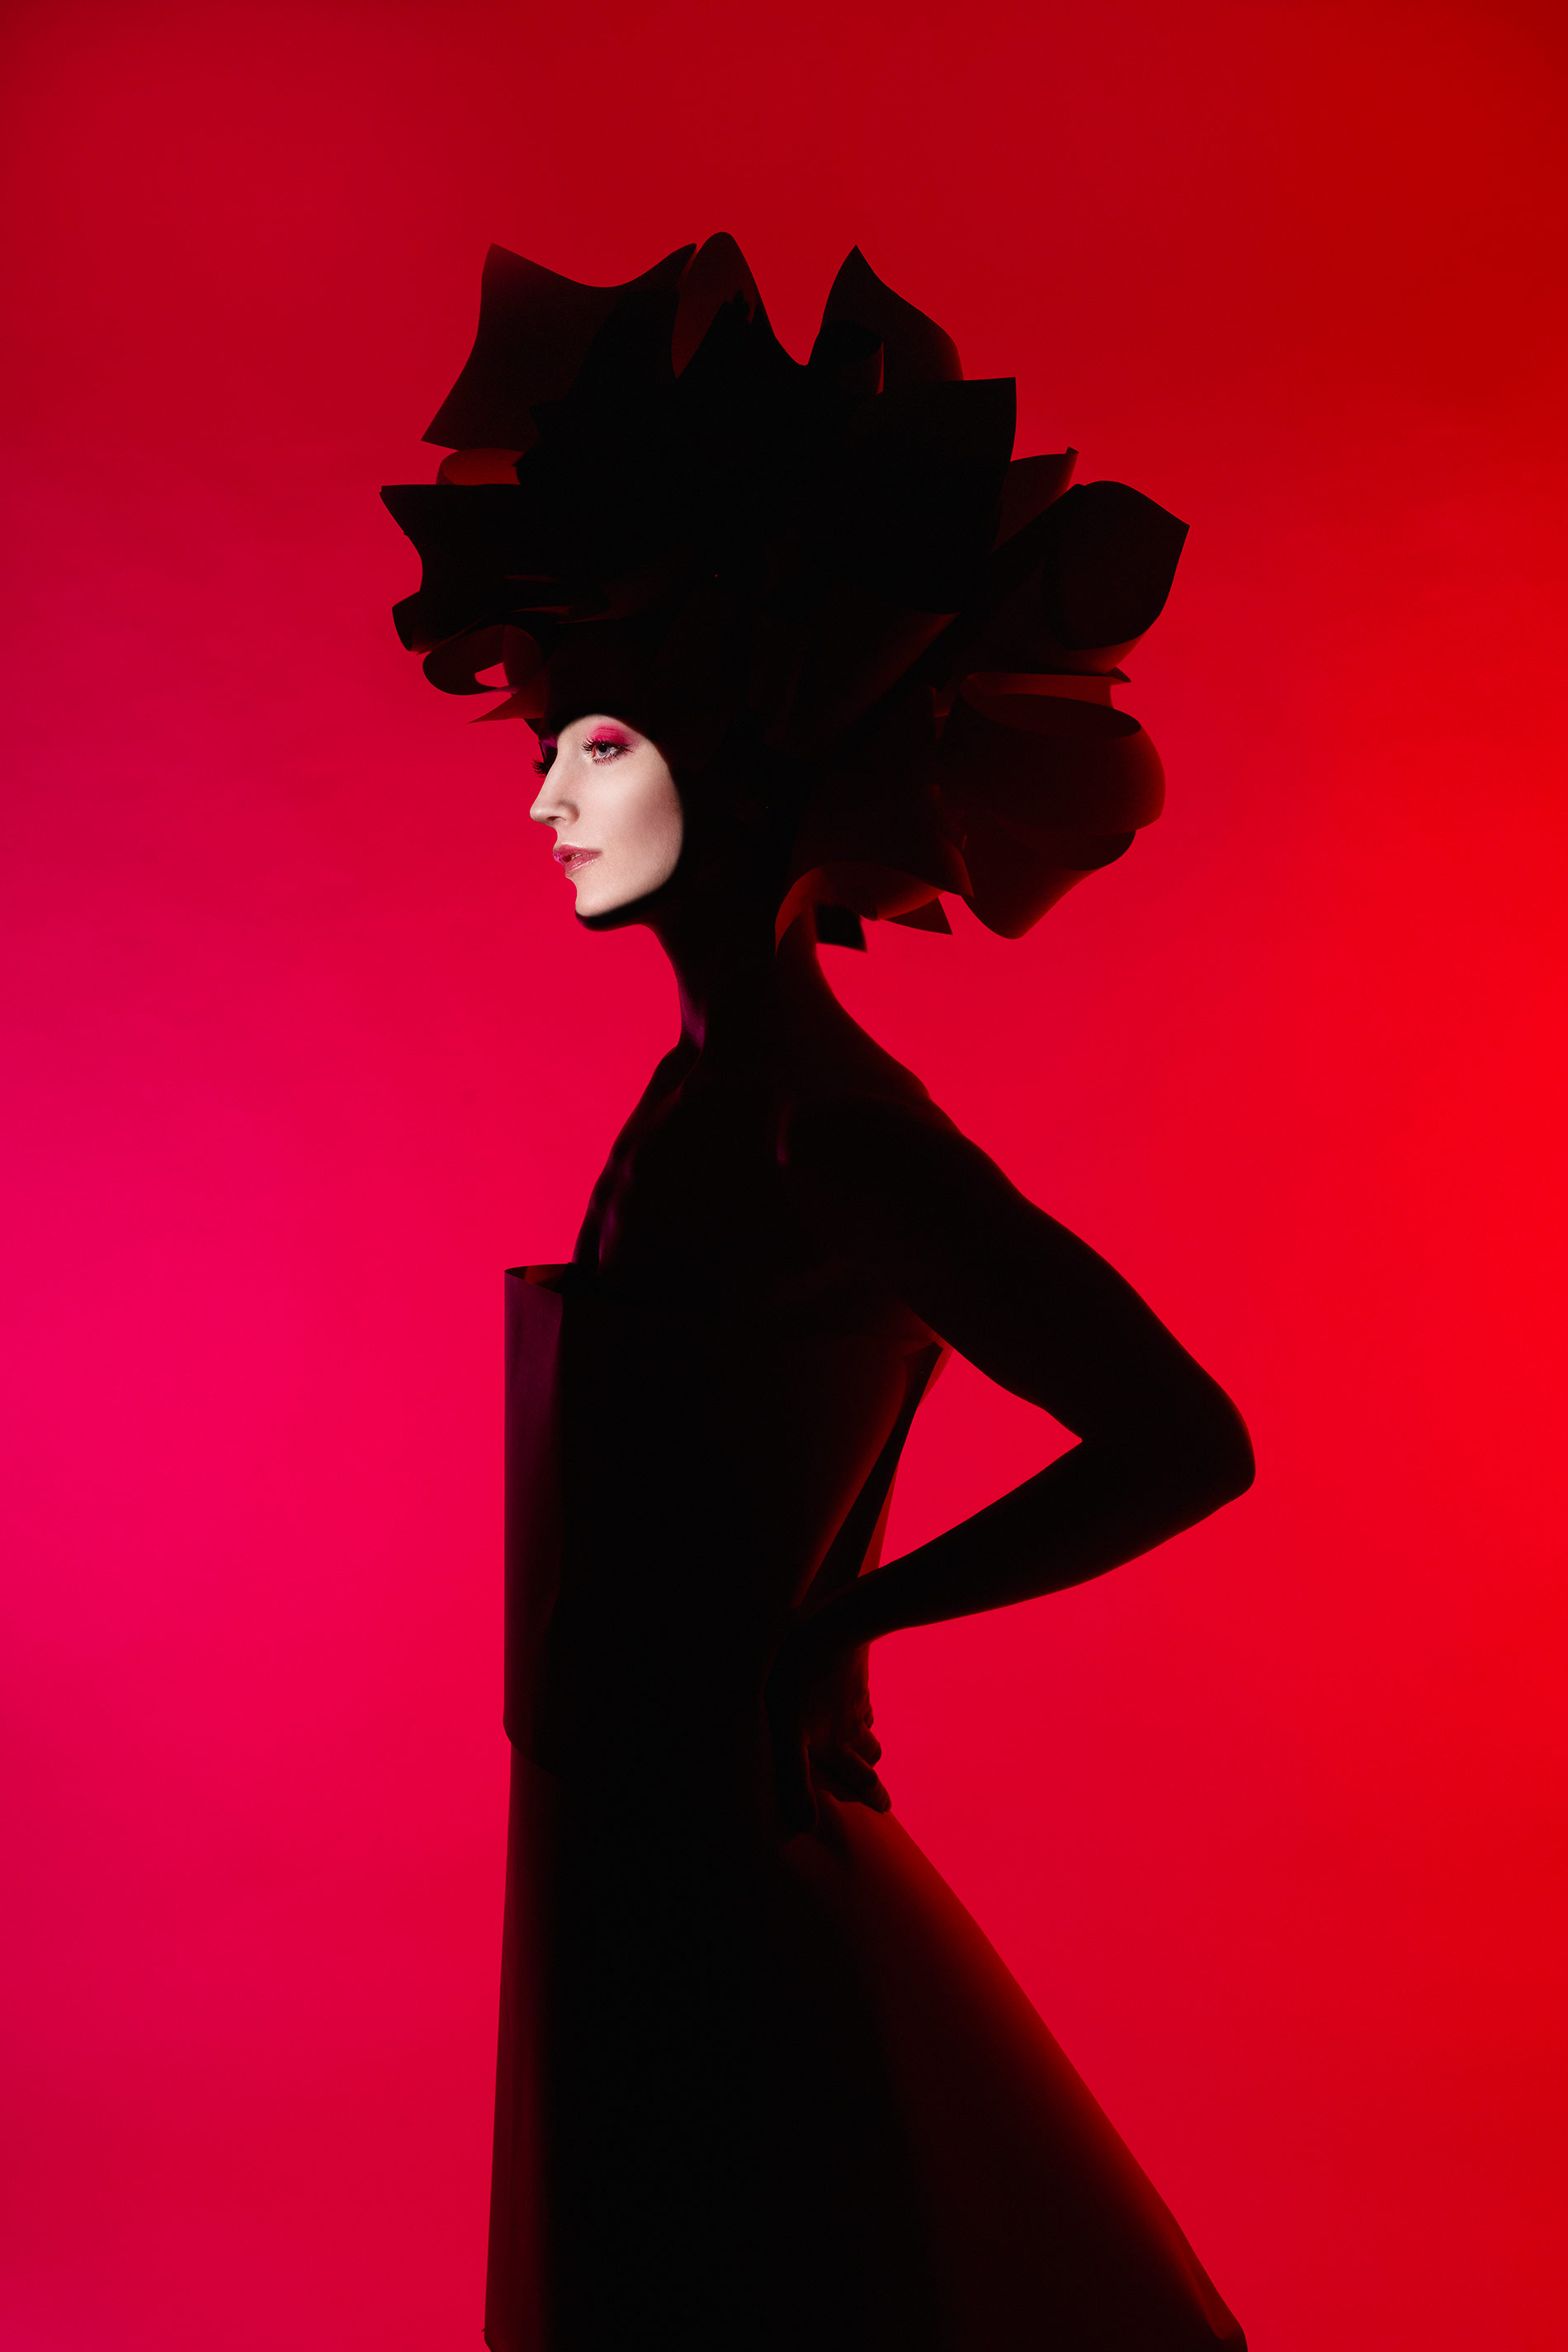
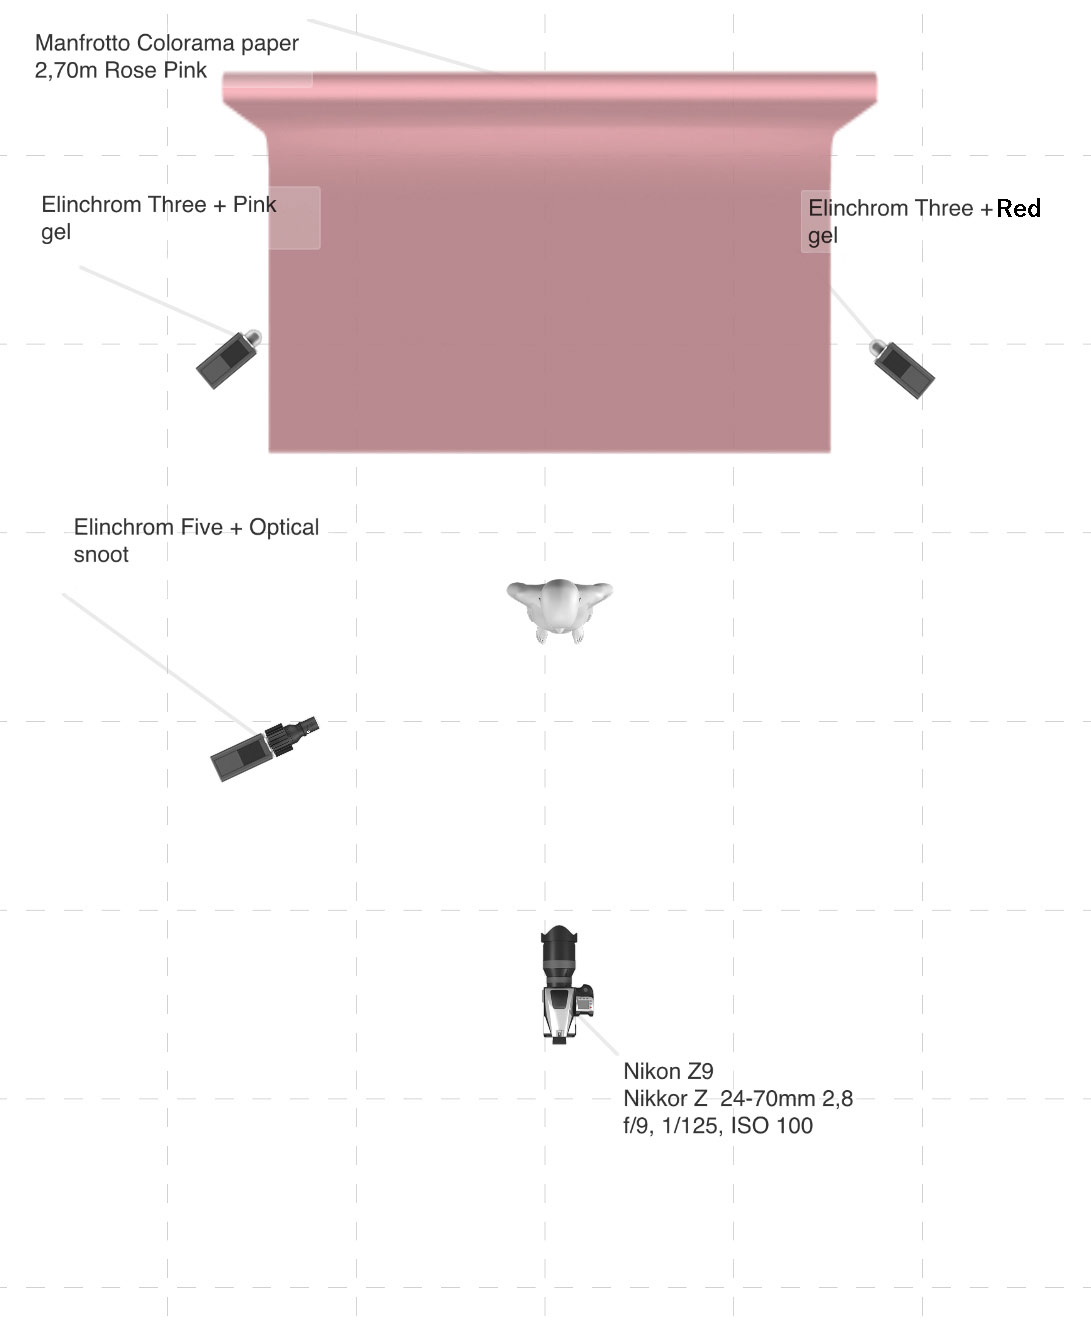
To get even more creative for my last two set ups, I changed the softbox to an optical snoot. That gave me the opportunity to work with a black silhouette and lit only a specific part of my model. For the third image, I choose the whole face to create something that looked a little like a superhero suit. Cool right!? For this one, I wanted the background to be lighter, more vibrant and I decided to go with pink and red to match her makeup. To get the light on the background to be more even I moved them a little further away and put them in an angle so they also made a little rime light on the model.
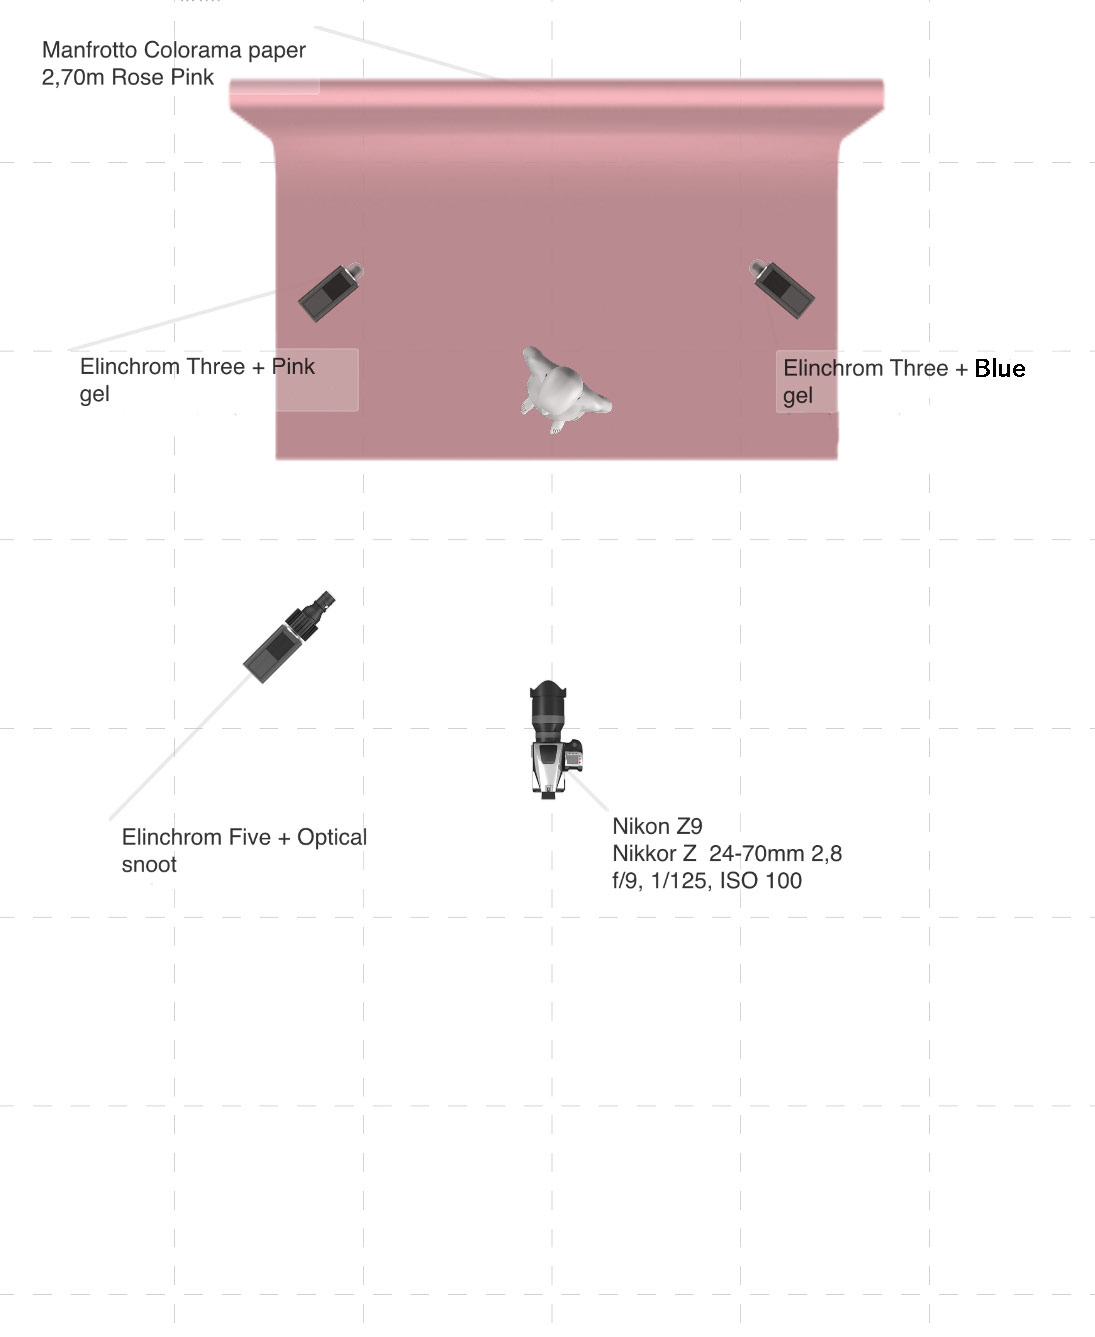
For the last image, I made a tighter crop and to draw all the attention to her eye. I made the background darker and cooler by changing the red gel to a blue one and go down in power. To get some nice, coloured highlights on the dark parts, I placed her closer to the background to allow some of the coloured light I put on the background to leak on her. I really love how adding these small highlights in her face bring out her fierce expression that adds so much to the image!
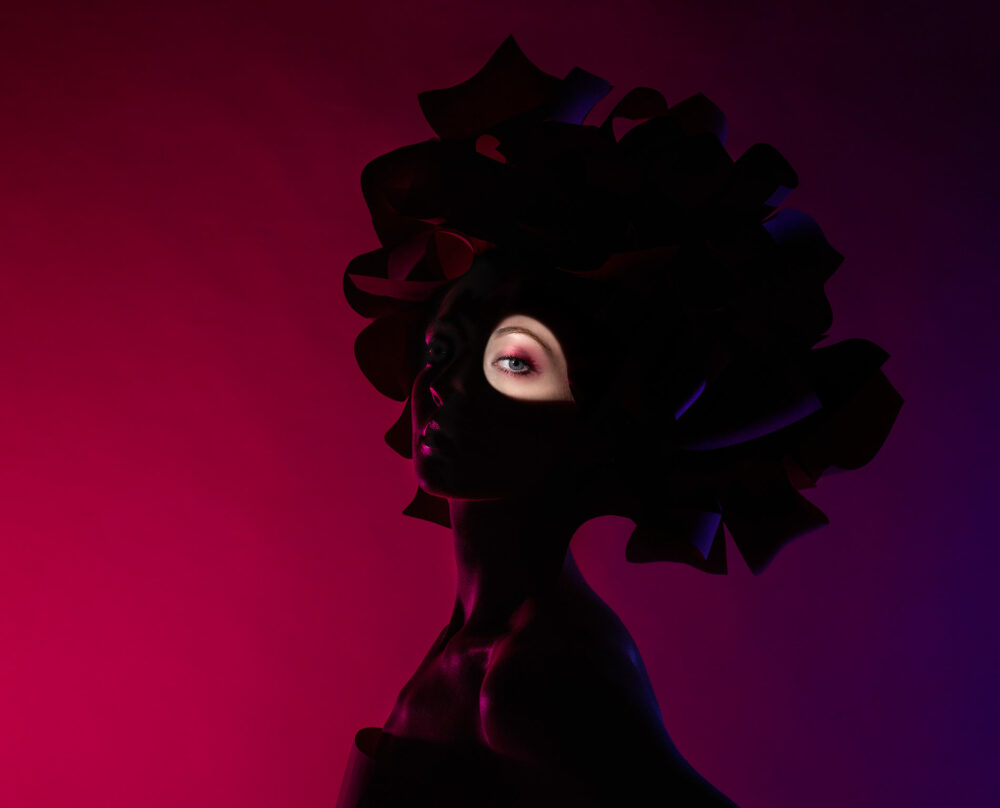
Overall, it took me under ten minutes to create these four images and even if I wanted to spend, more time playing around with different poses and angles, it is nice that changing the set up was so quick and easy. My philosophy has always been that the better equipment I work with for my portraits the less time I need to focus on the technical stuff and that means I can spend more time directing and making a good connection with my model, which for portrait photography is crucial.
“My philosophy has always been that the better equipment I work with for my portraits the less time I need to focus on the technical stuff”
To summarize, creative lighting doesn´t need to be complicated. Knowing your lights gives you such a great opportunity to create images that stands out! It doesn´t always require a ton of equipment and it is such a fun, creative part of the image-making process! Small changes can make an image go from soft and romantic, to bold and dramatic.
Equipment:
Camera: Nikon Z 9
Lens: Nikkor Z 24-70 mm 2,8
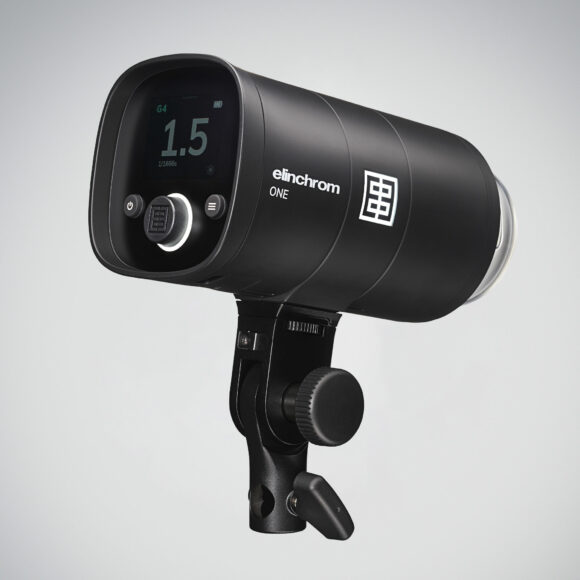
Lights: One Elinchrom FIVE, Two Elinchrom THREE
Lightshapers: Softbox Portalite 66×66 cm, Optical Snoot
Extra: Gel cups pink, red and blue
Background: Manfrotto Colorama paper 2,70 Rose Pink
Voir cette publication sur Instagram

