Behind the Beauty Dish: Decoding the Secrets of Striking Portraits
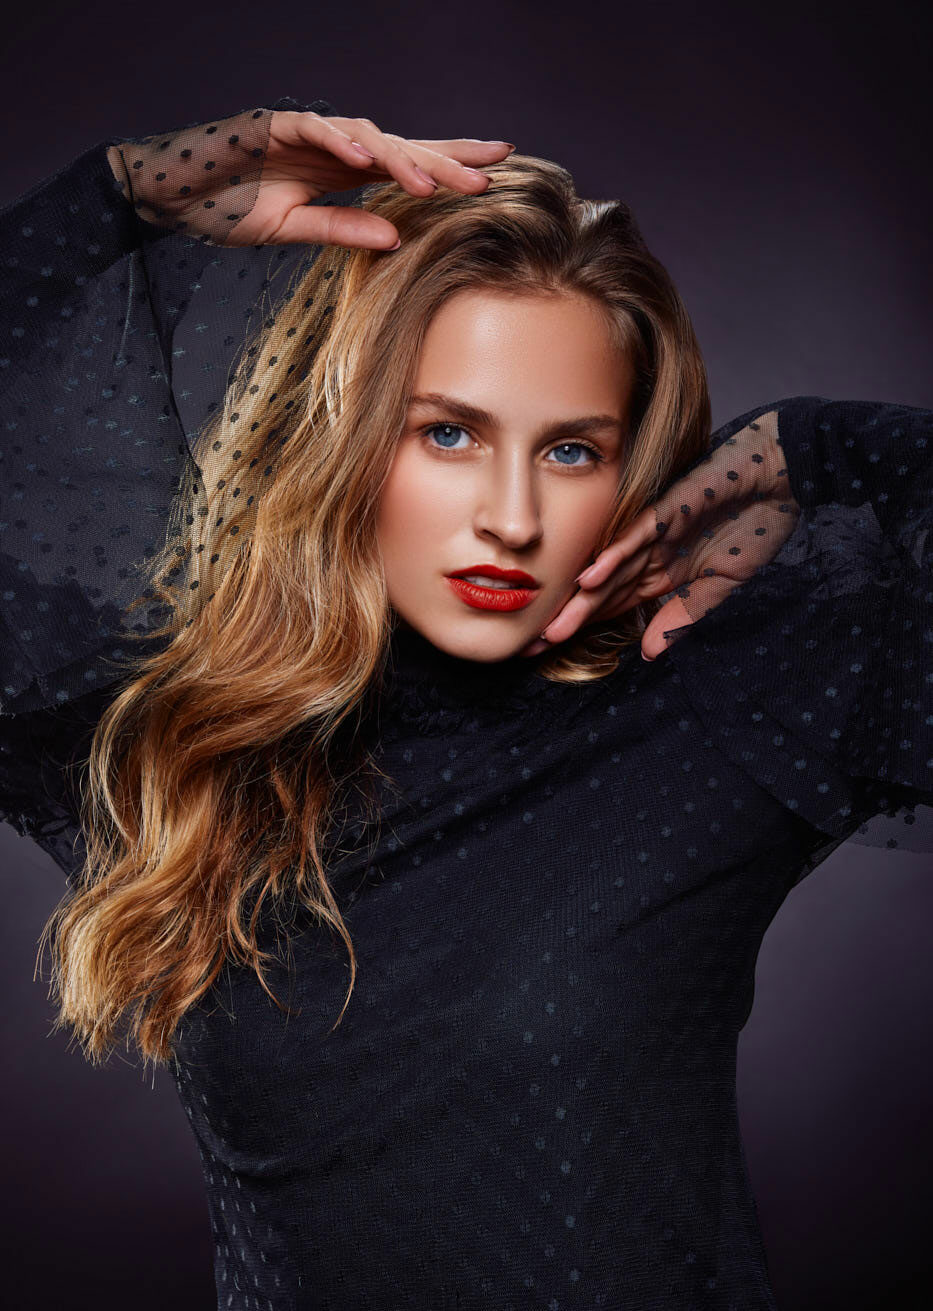
This photo of Sophia was created with a 44cm Silver Beauty Dish 44cm from her face.
As portrait photographers, almost all of us want to create gorgeous close-ups and the go to gear for this type of work has long been a beauty dish. Despite using them for years, I’ve never felt entirely confident that I was leveraging them to their fullest potential.
After years of winging it, I wanted to thoroughly test them out in order to better understand how they work and how to use them.
In this article, I am going to share the results of my tests. Additionally, I’ll guide you through two multi-light setups using beauty dishes. FYI, I will be using the term reflectors and beauty dishes interchangeably.
If you have ever heard anything about beauty dishes, you’ve probably encountered the adage that diameter equals distance. It’s a handy rule of thumb: position the beauty dish from the subject’s face at a distance equivalent to the modifier’s diameter. While I’ve followed this principle over the years, I often wondered if I was really doing the right thing. I’ve asked manufacturers what they thought the distance should be, only to be told “do whatever looks the most beautiful.” Other people have sworn that 1m is the optimal distance. Thus, once I got my hands on all four of Elinchrom’s beauty dishes, I seized the opportunity to definitively determine the best practices for using these reflectors.
“All beauty dishes feature a deflector disc in the middle of the reflector, ensuring the subject cannot directly see the bare flash tube.“
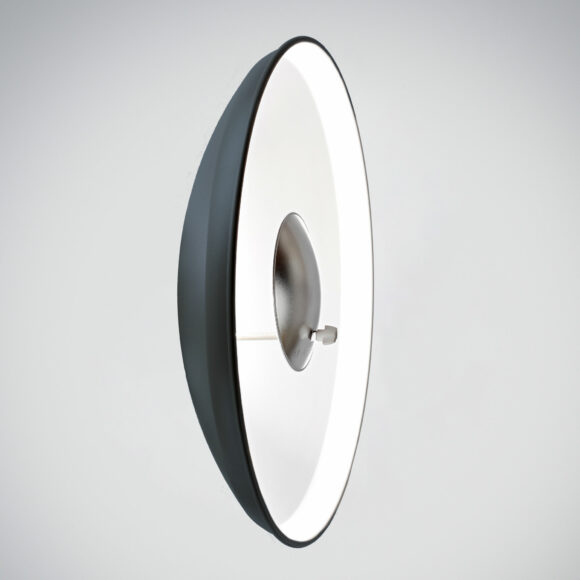
All beauty dishes feature a deflector disc in the middle of the reflector, ensuring the subject cannot directly see the bare flash tube. Elinchrom cleverly utilizes the umbrella hole in their non- OCF lights to secure the reflector disc. Plus, they offer photographers a choice between translucent, opaque (white), silver, or gold deflectors. With this design, all of their lights, except the ONE and THREE, are compatible with Elinchrom Beauty Dishes. The ELB 500 requires the Quadra Reflector Adapter.
The opaque deflector allows some direct light to pass through, diffusing it within the modifier. The translucent variant accomplishes this to a lesser extent. The silver and gold deflectors completely block direct light, with the gold one warming up the overall output.
For all technical tests, I used an opaque deflector because I thought that it would be the most neutral choice. In the past, I have owned beauty dishes that allowed light to pass through the disc. When I got my first Elinchrom dish, I started using the opaque deflector because it seemed familiar and I never looked back.
Cross Section Test
Personally, I’ve almost always believed light emerges from a beauty dish in a cone shape, with rays bouncing off the back and also the rim at approximately 45°. This makes me tend to believe that distance should equal diameter or pretty close to it.
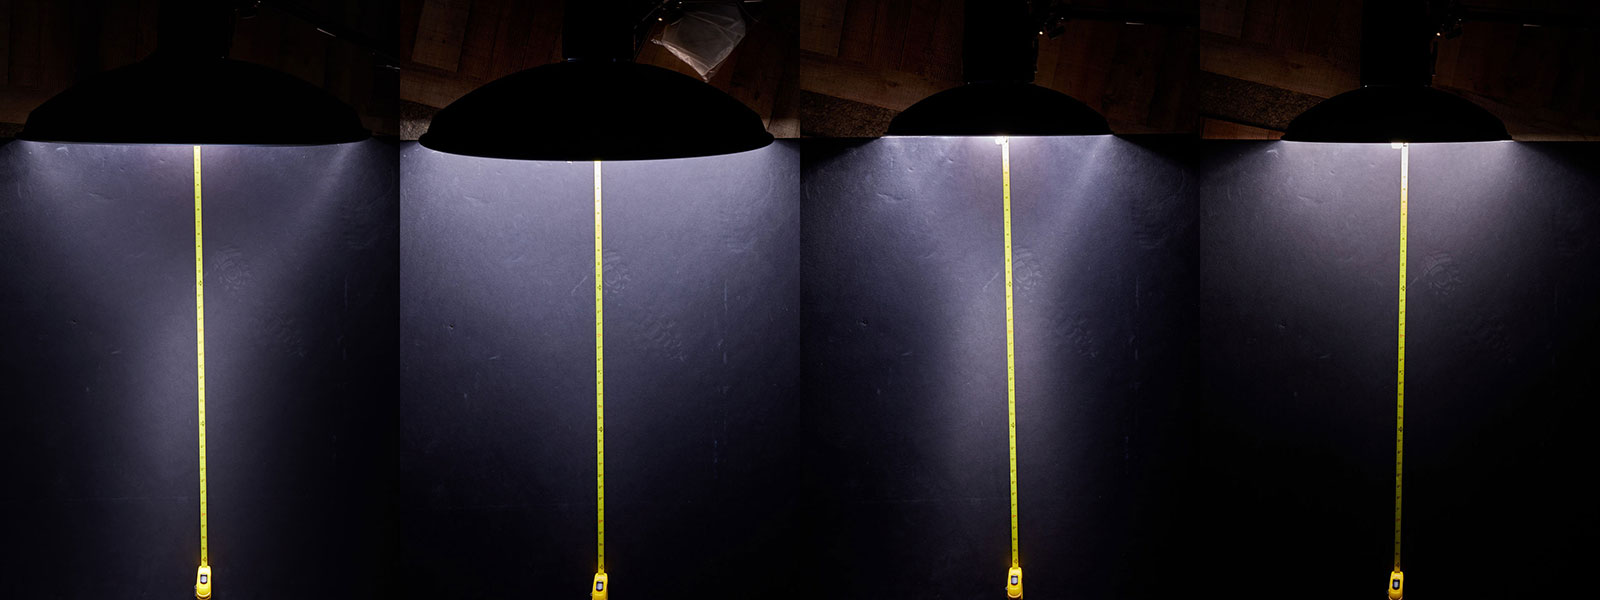
I could have crafted an article adorned with beautiful images of beautiful people, but advice on this topic should not rest on my feelings or hearsay; it should be rooted in evidence. I wanted to come up with a test that would show you how beauty dishes shape light. Then, it hit me — if I placed a black foam board perpendicular to the face of a beauty dish and photographed it, I should be able to capture a cross-section of the light rays. So, I set everything up in the studio, and to my immense pleasure — it worked!
I compared the 70cm (27.6”) Softlite Silver Beauty Dish Reflector, 70cm (27.6”) Softlite White Beauty Dish Reflector, 44cm (17.3”) Softlite Silver Beauty Dish Reflector, and 44cm (17.3”) Softlite White Beauty Dish Reflector. The results can be seen below. Analyzing the comparison, it’s evident that these modifiers generate a distinctive Y-shaped beam rather than the anticipated cone. This Y shape is more pronounced, with the higher-contrast silver reflectors.
Looking back, I think the results might have been even more distinct with the higher-contrast silver deflector, but the shape is still clear. The tape measure helps us determine that the tip of the “cone” is about 54cm (21”) from the 70cm silver reflector and around 70cm (27”) from the 70cm white reflector, but it’s hard to be sure given the contrast. In the case of the 44cm reflector, the results were respectively 44cm (17”) and 35cm (14’’). Venturing beyond the point where the diagonal lines converge primarily captures rays from the back of the beauty dish, while getting too close puts you in the shadow of the deflector disc.
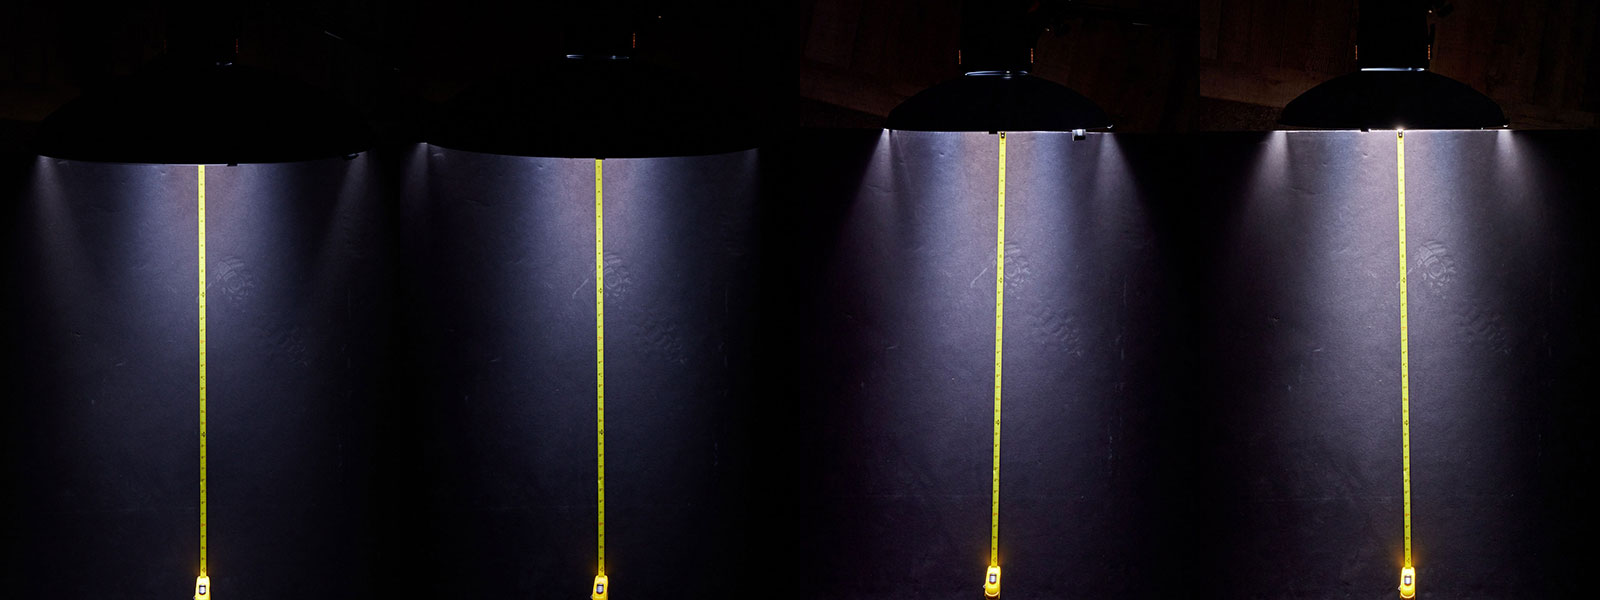
Beauty Dish only, with Grids, with Diffusion Socks
Moving on, I experimented with grids on the modifiers, revealing that the light is distinctly confined to a column, indicating that the diagonal beams are indeed blocked. I’ve also held the belief that using a grid blocks the diagonal beams, but more on that later.
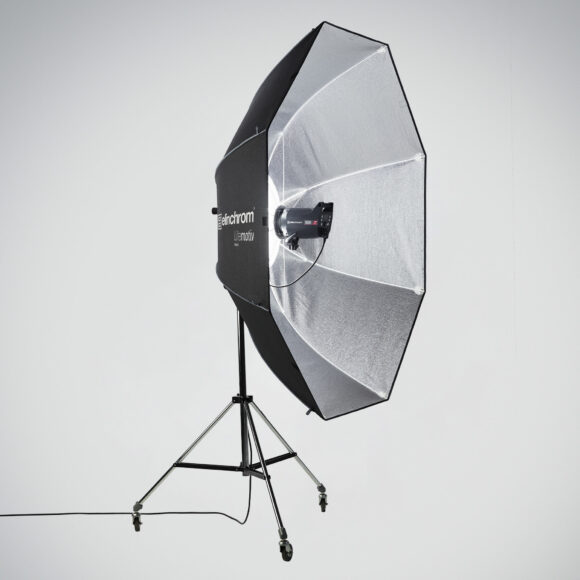
After removing the grids, I attached a diffusion sock. As expected, this accessory scatters the light rays in all directions. Initially, I thought this light would resemble that from a similarly sized softbox. However, when I tested it with a Rotalux Deep Octa Softbox 70cm (27.5”), I found that the falloff was more abrupt with the beauty dishes. There wasn’t as much of a difference beyond 30cm (12’’).
Placement
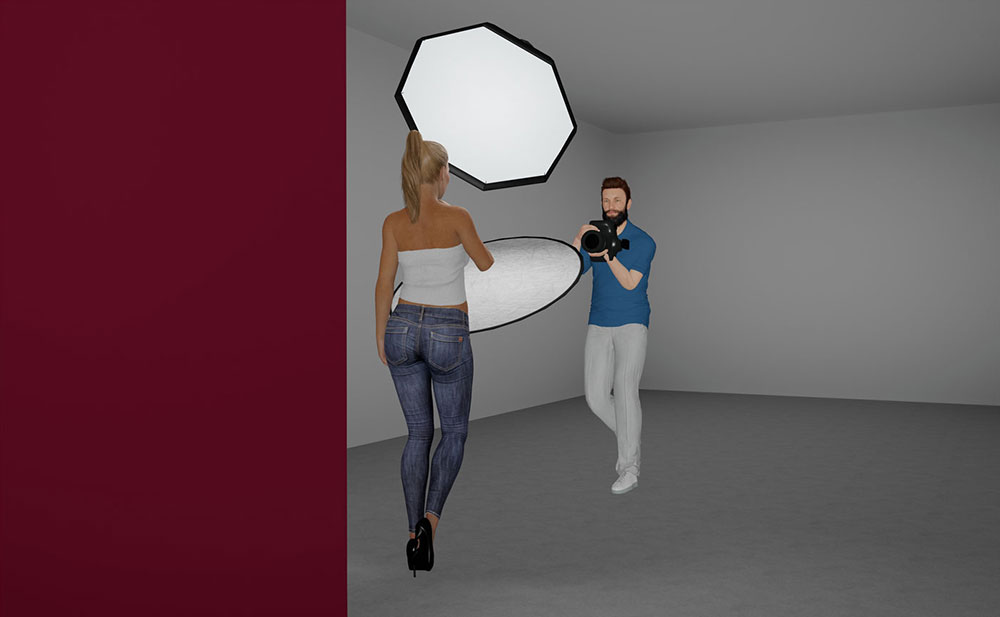
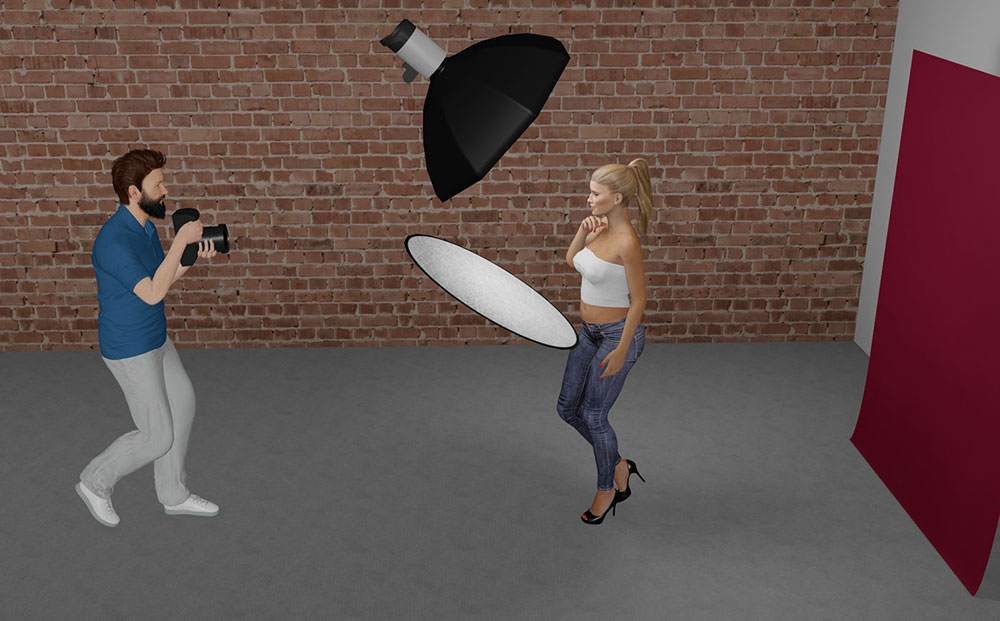
When using a beauty dish, you will typically want to have your modifier directly over the camera pointed downwards with the center of the modifier and the convergence of the diagonal light rays pointed in the middle of the model’s face. You do not have to use the modifiers this way, but it is how they are used most of the time. I like to tilt my beauty dishes downward at about 45 degrees, but you may like to use them at a different angle. However, using them at a steep angle might result in a triangular shaped shadow on the neck and placing the light even higher would lead to the absence of a catch light in the model’s eye.
“I like to tilt my beauty dishes downward at about 45 degrees“
Test with the 70cm Silver Modifier
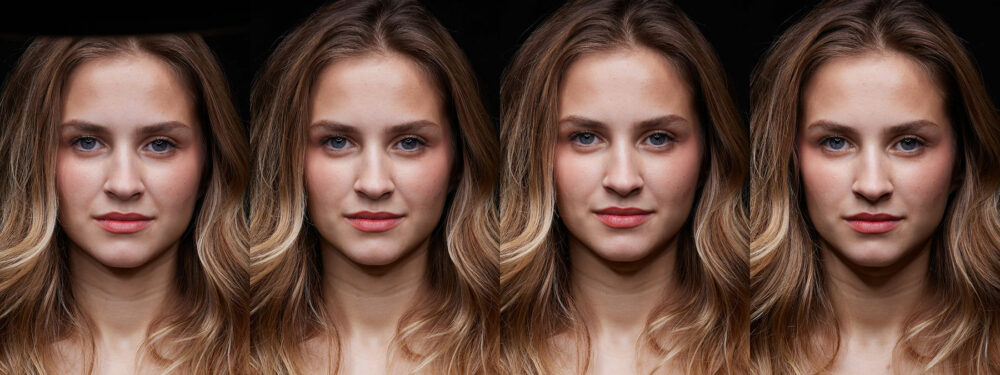
Considering my cross-section test results, I opted to use the bare 70cm silver modifier in a test with Sophia. I placed it at 46, 54, 62 and 70cm (18, 21, 24, and 27”) away from the model’s face to observe differences. Although the cross-section test suggested that 54cm would be ideal, I wanted to create an image closer to the modifier and at a distance equal to the diameter of the reflector. I chose the silver beauty dish over the white one because the cross-section results with the silver reflector were more defined.
Observing these images of Sophia, I noted that specularity increased as the distance increased. The lighting appeared more flat at 45cm, more three-dimensional at 62cm, and the shadows were more defined at 70cm.
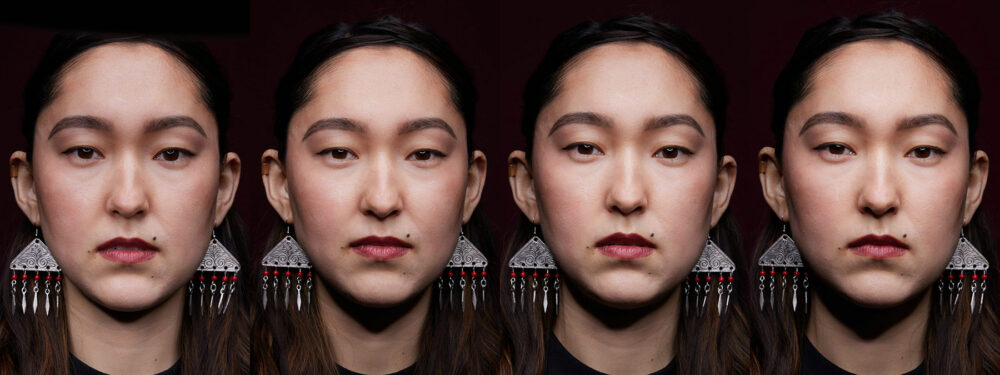
Testing the same modifier at the same distances with Anelya, the lighting on her face looked flattering overall. At 46cm, it looked nice, but it was most three-dimensional at 54cm, and her face appeared more narrow at 70cm.
Test with the 44cm Silver Reflector
Conducting similar tests with the 44cm silver reflector at distances of 28, 36, 44, and 51cm (11, 14, 17, and 20”), the light appeared more isolated overall. Sophia looked flat at 28cm, with the contrast being nice at 44cm, but the shadows seemed deepest at 51cm.
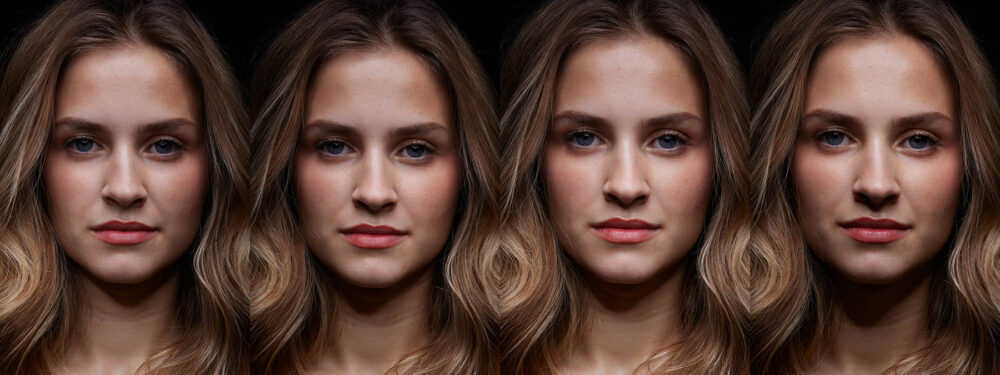
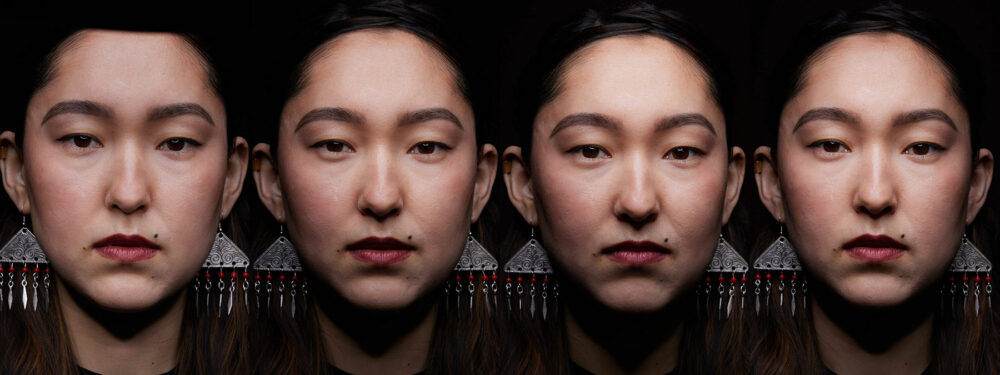
Reviewing Anelya’s photos, the contrast was lower at 28cm, the image was most three- dimensional at 44cm, and her face looked narrower with more shadowing on the sides at 51cm. On set, she reacted very positively to the last image. Although the technical performance might be optimal on the third image, I think people in general will react differently to the light based on the shape of the subject’s face.
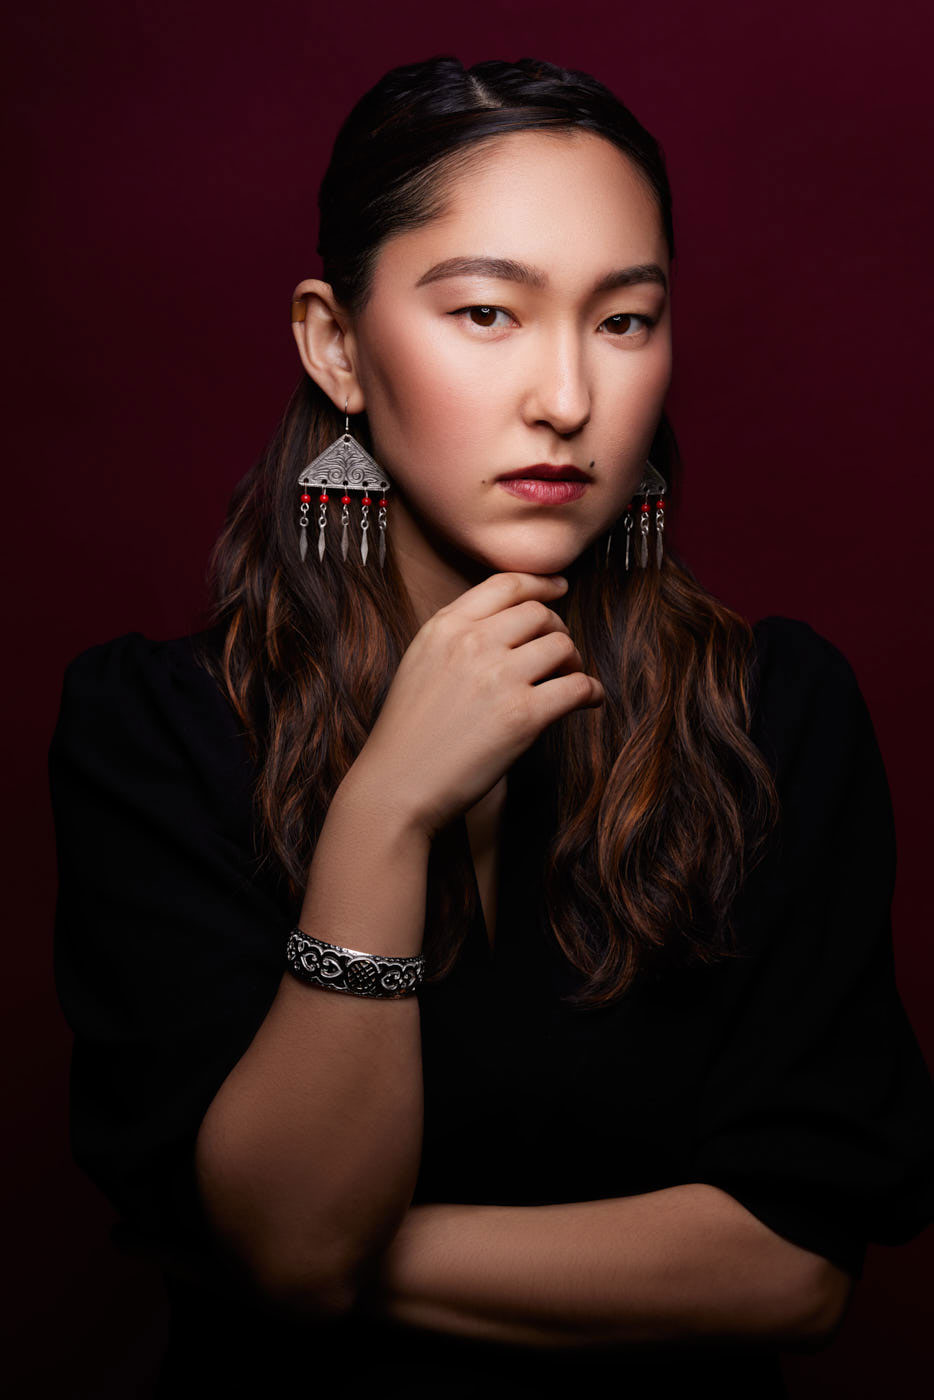
This photo of Anelya was created with a 44cm Silver Beauty Dish 51cm from her face.
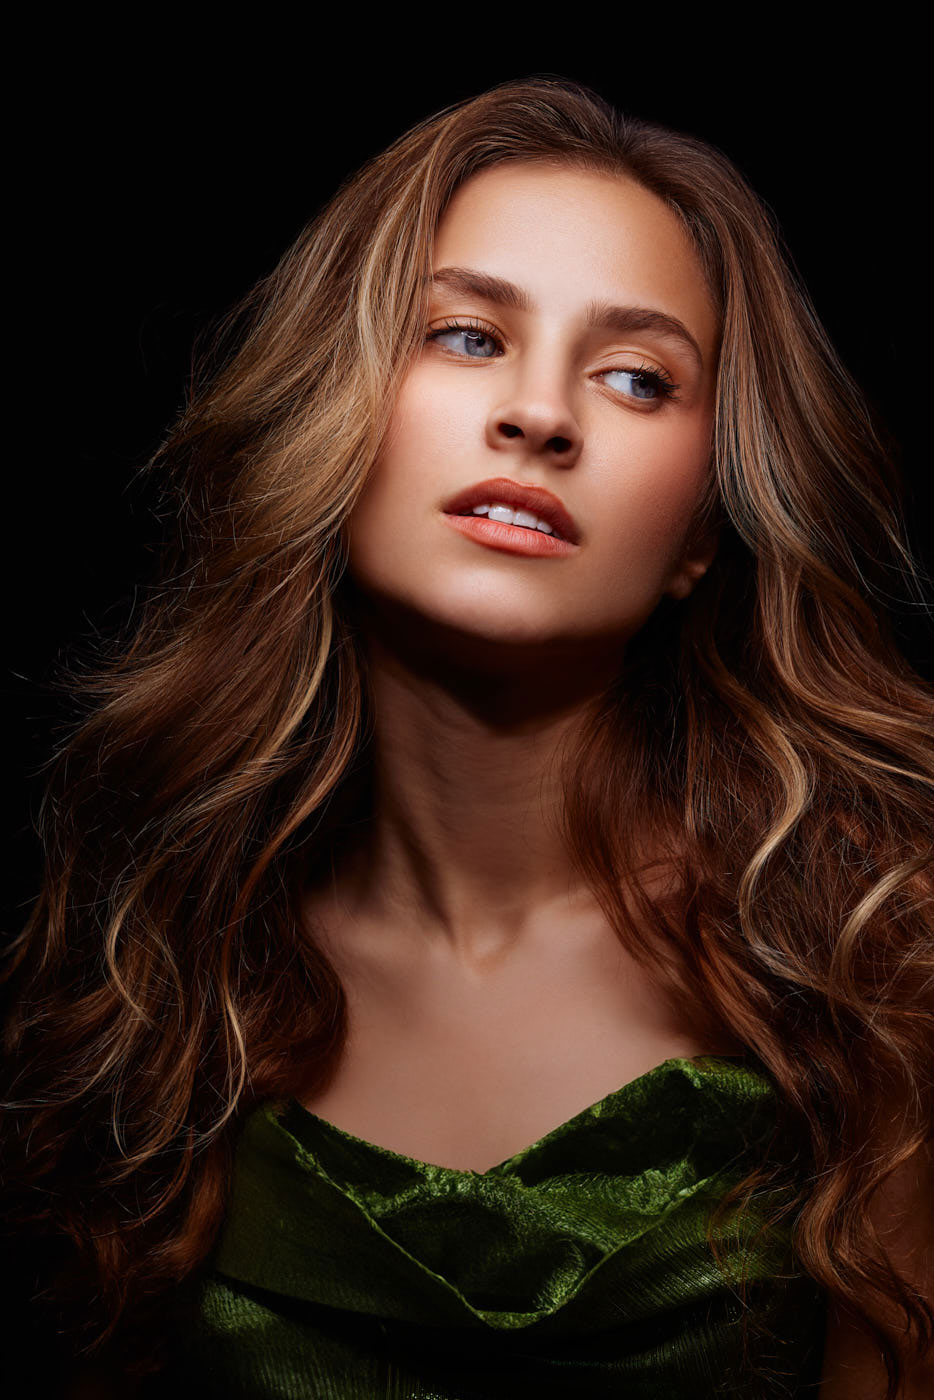
This photo of Sophia was created with a 44cm Silver Beauty Dish 44cm from her face.
“From these tests, I would conclude that you cannot go wrong with diameter equals distance“
From these tests, I would conclude that you cannot go wrong with diameter equals distance, a little closer might be better for faces like Sophia’s, but for faces like Anelya’s further away may be preferred. Just know that contrast will be low when it’s close to the deflector or inside the lines of convergence, and the shadows will be more abrupt when the reflector is further away from the subject. This makes sense because another rule of thumb is that the smaller the modifier looks to the model, the harsher the light will be.
As for the white reflectors, I would expect that the contrast would be lower than images from the silver dishes, based on general experience and a test I did recently with umbrellas.
Therefore, I would expect the same differences we observed with the silver dishes, but those differences are going to be more subtle.
Maybe the small silver one would be best for a young model, and the large white one close up would be better for an older subject. Alternatively, you could base your decision on whether you want a dramatic image with lots of shadows or a light and airy portrait with contrast.
I cannot conclusively say that you should follow a particular formula, but I think we now understand what is going on with these modifiers and how we might inform our artistic decisions moving forward.
Small Spaces
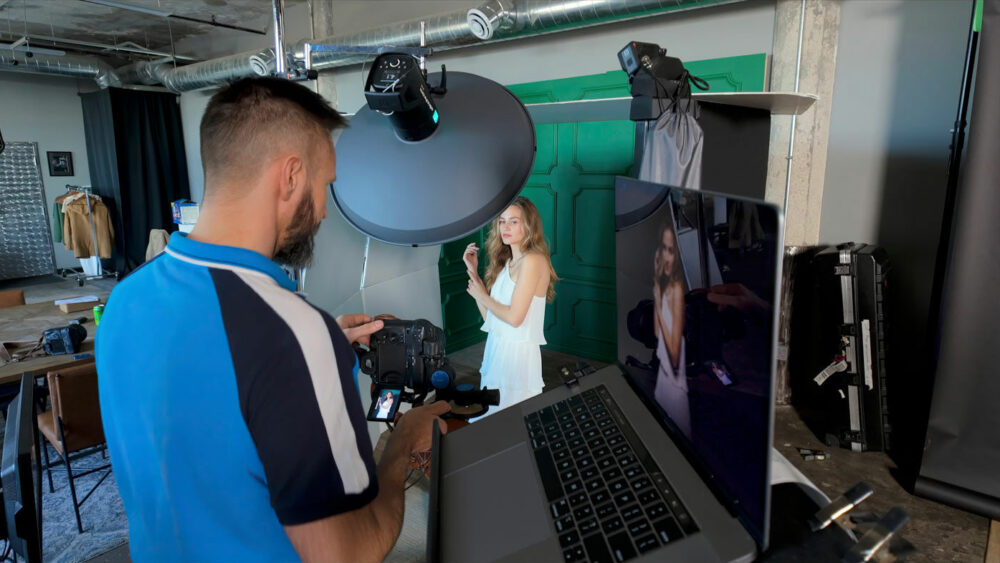
I wanted to simulate photographing in a small room with the 70cm (27.6”), Softlite Silver Beauty Dish Reflector to see if light would bounce everywhere. I also wanted to learn how distance and the use of the grids affected the brightness of the background.
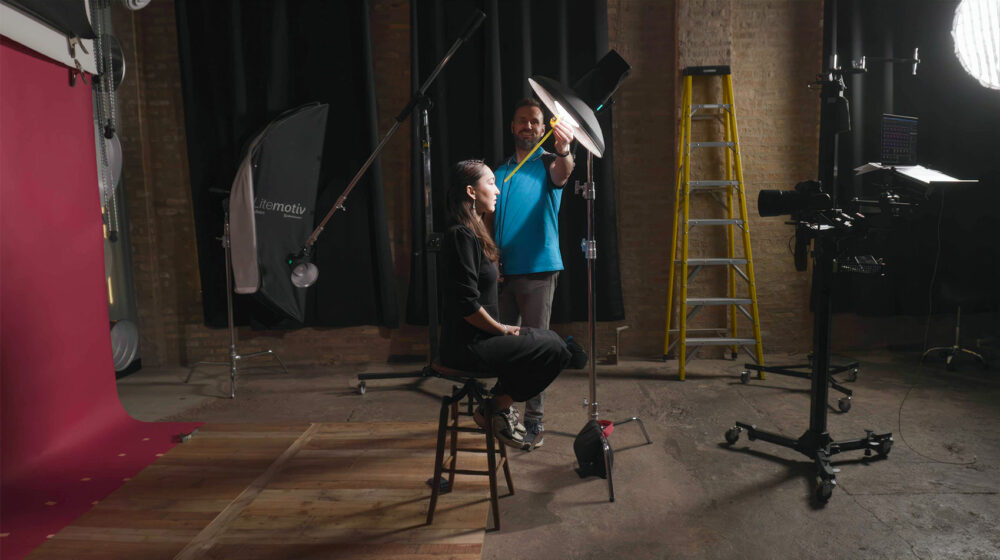
Setting the stage, I transitioned Sophia to a green wall set. Two V-flats stood tall, mimicking walls, with a large white foam board overhead, playing the role of an imaginary ceiling and transforming the environment into a controlled “room”.
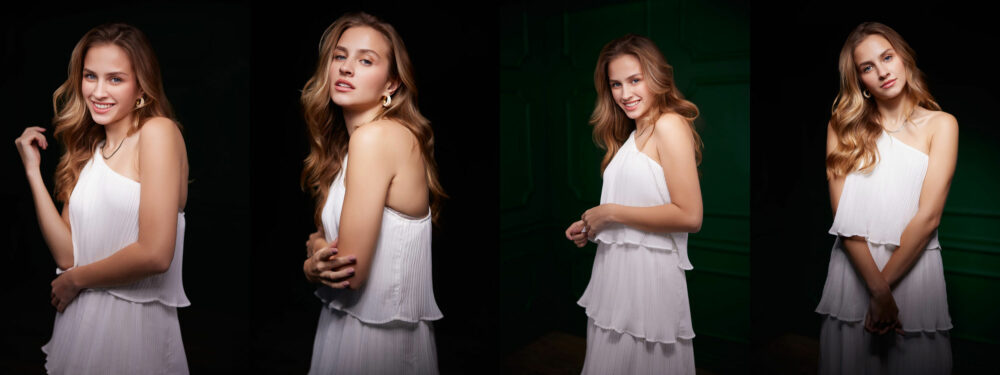
2.4m without a Grid, 2.4m with a Grid, 1.2m without a Grid, 1.2m with a Grid
“You can observe right away that the distance you place your subject from the background has a huge impact on the luminance of your backdrop.“
You can observe right away that the distance you place your subject from the background has a huge impact on the luminance of your backdrop. Positioning Sophia approximately 2.4m (8′) away painted a canvas of darkness behind her. Introducing the grid makes the backdrop darker and deepens the shadows on her face by eliminating the diagonal beams witnessed in our cross-section trial. The grid also makes her clothing darker near her waist.
Moving her 1.2m (4’) from the wall, the background looks a little lighter but it is still very dark. If the light were bouncing off the white foam boards, I would expect her shadows to be more elevated, and the background to be brighter.
Therefore, I think the light from these modifiers is quite focused. Adding the grid made the shadows on her face more dramatic, the area behind her where with light became brighter, and the upper half of the set became darker. I believe this happens because the grid blocks the diagonal beams and all of the light is coming from the back of the modifier forward. You can see evidence of it here in this extreme close-up of her eyes from this test.
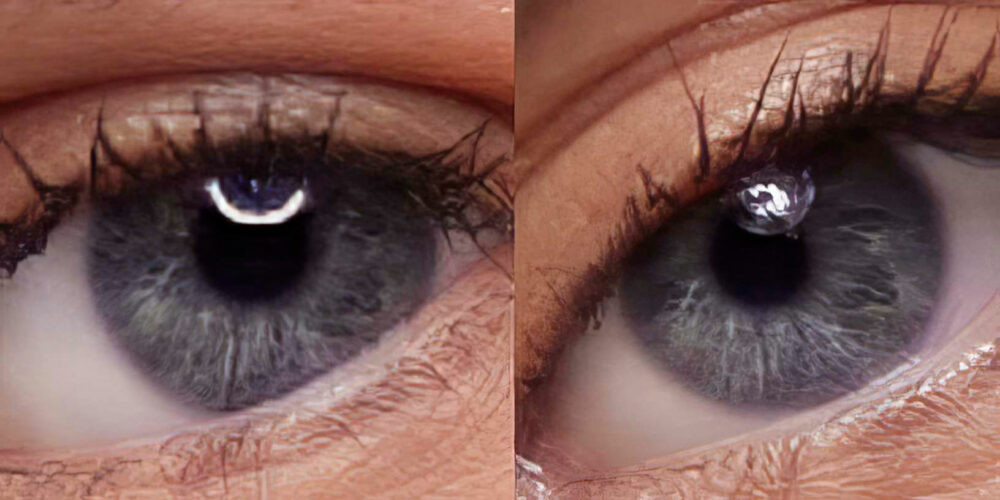
A Beauty Dish without (L) and with a Grid (R).
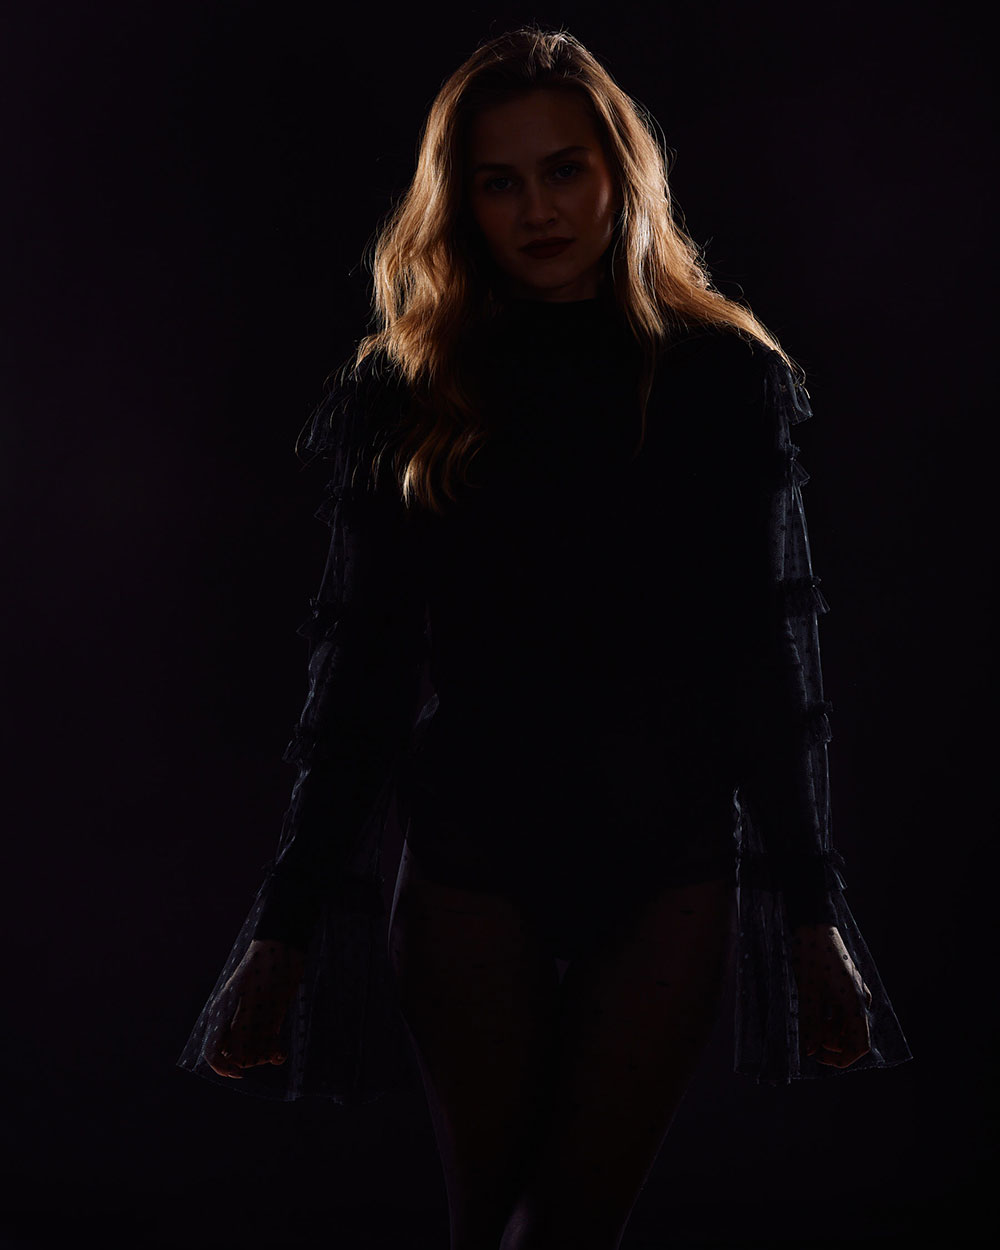
Film Noir
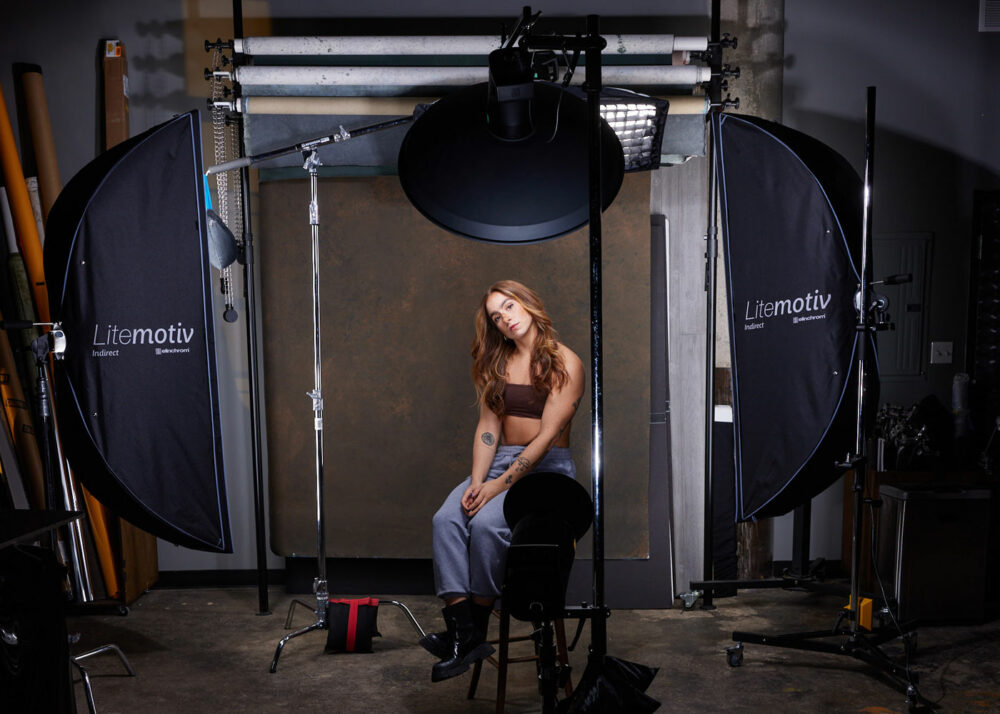
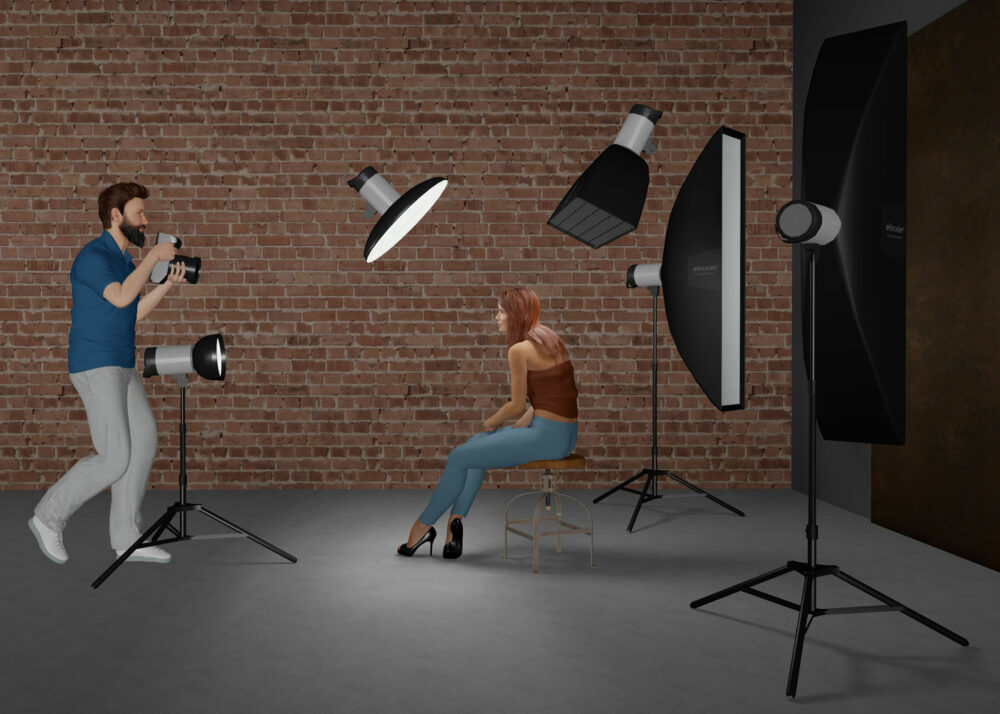
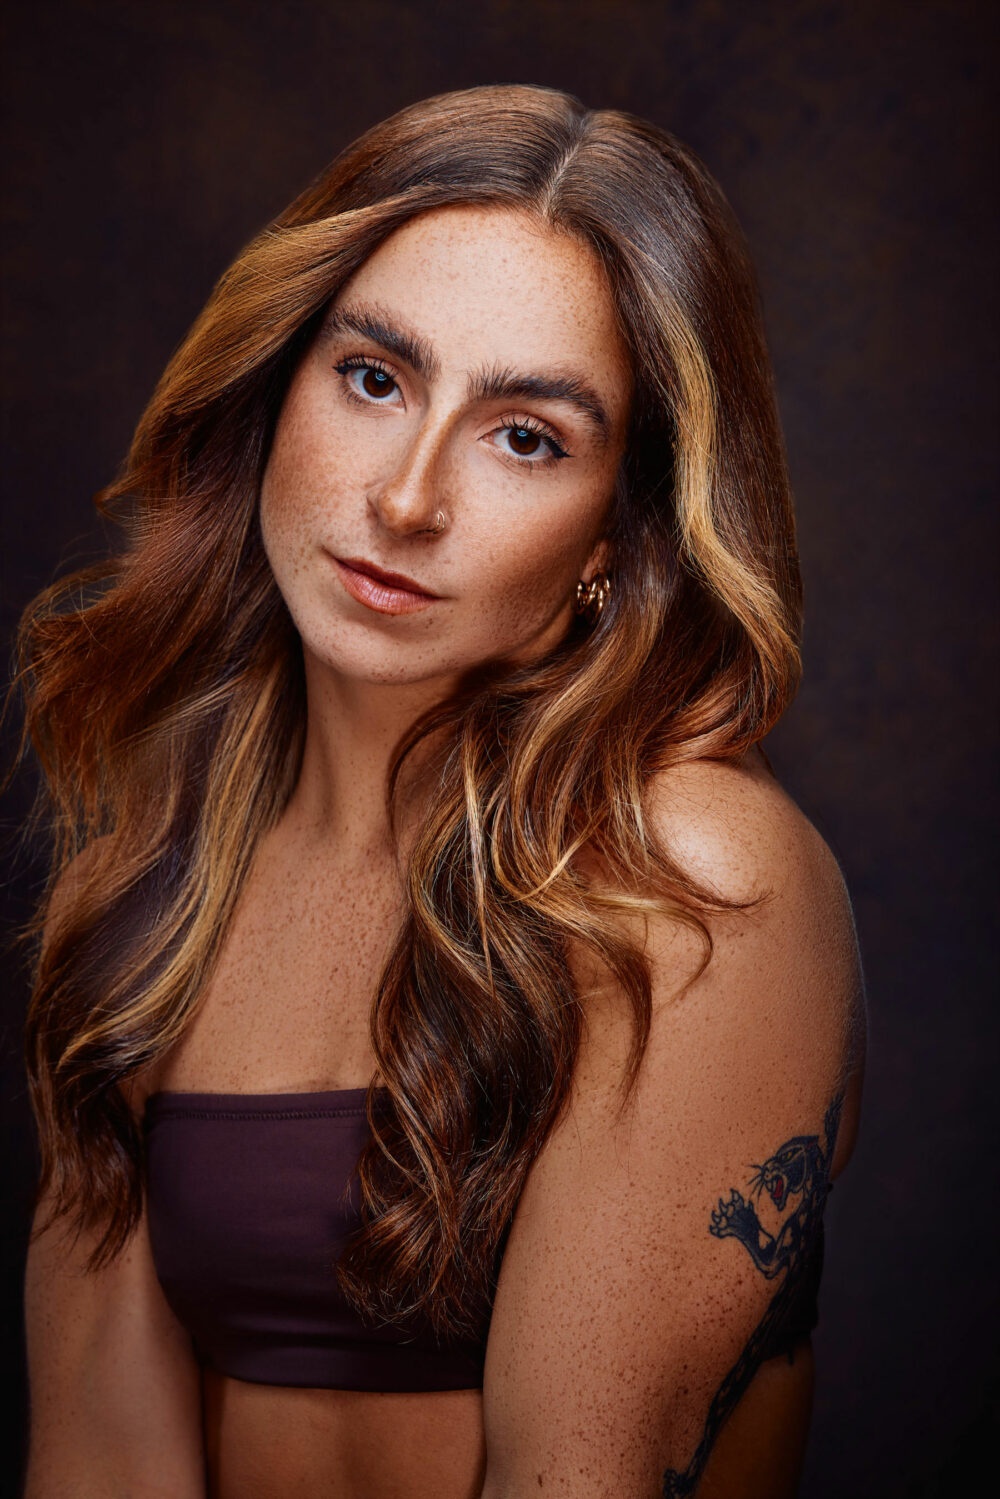
For this image with Sophia, I chose to use a 44cm Silver Beauty Dish with a Silver deflector as my main light. I placed this modifier 17 inches from her face.
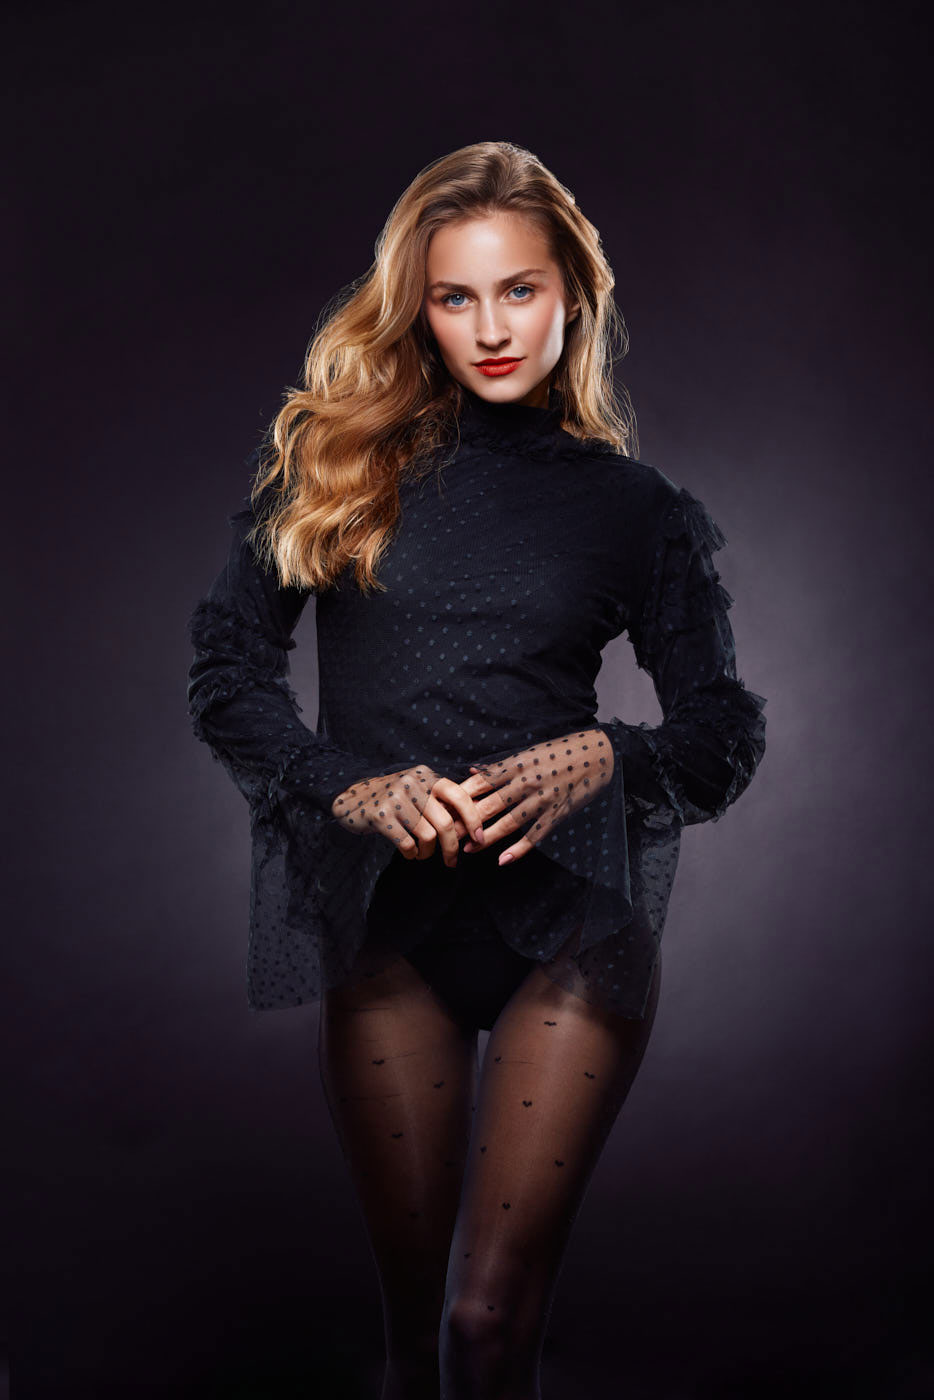
This photo of Sophia was created with a 44cm Silver Beauty Dish 44cm from her face.
Working with such a focused light source demands clear communication with the subject. Maintaining a consistent position is crucial throughout the photoshoot to prevent unwanted shadows on the face. To add depth and separate Sophia from the background, I introduced a light with a 21cm (8”) grid reflector, with a 20-degree grid and adorned with barn doors. This strategic setup isolated the light, creating a striking focal point in the center of the backdrop.
My camera was set to 1/200 f8 ISO 100. I initially used a white backdrop. However, feeling it lacked character, I swiftly switched to a black backdrop and increased the power of the background light. Noticing her hair blending into the top of the background, I introduced an Elinchrom ONE with a 21cm (8”) reflector as a hair light with a diffusion dome and set to minimum power. Unfortunately, the light was too bright. To balance the scene, I increased the power of the other lights by 1 stop and stopped down to f11.
Next, I felt like her black clothing was blending into the background, so I placed an Elinchrom Indirect Litemotiv Strip Softbox 33x175cm (13 x 69”) over each shoulder next to the backdrop. As light passes through diffusion fabric, it warms up. Thus, I removed the outer layer of diffusion on these softboxes so the light would be the same color temperature as that from the other modifiers in this scene. I then turned up the power until I started to see edge lighting on her clothing, but I couldn’t turn them up too high because they would blow out her blonde hair.
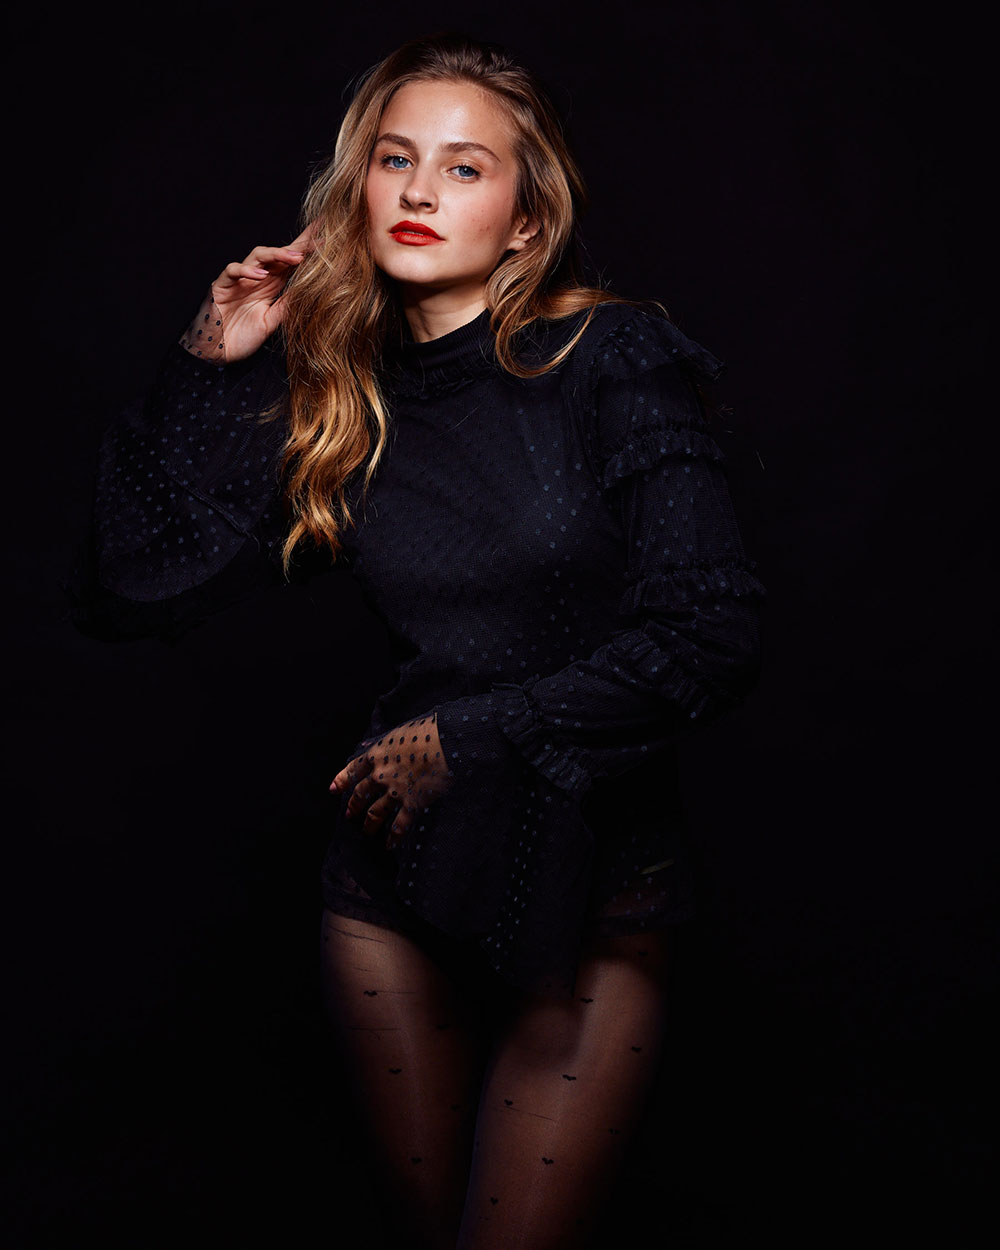
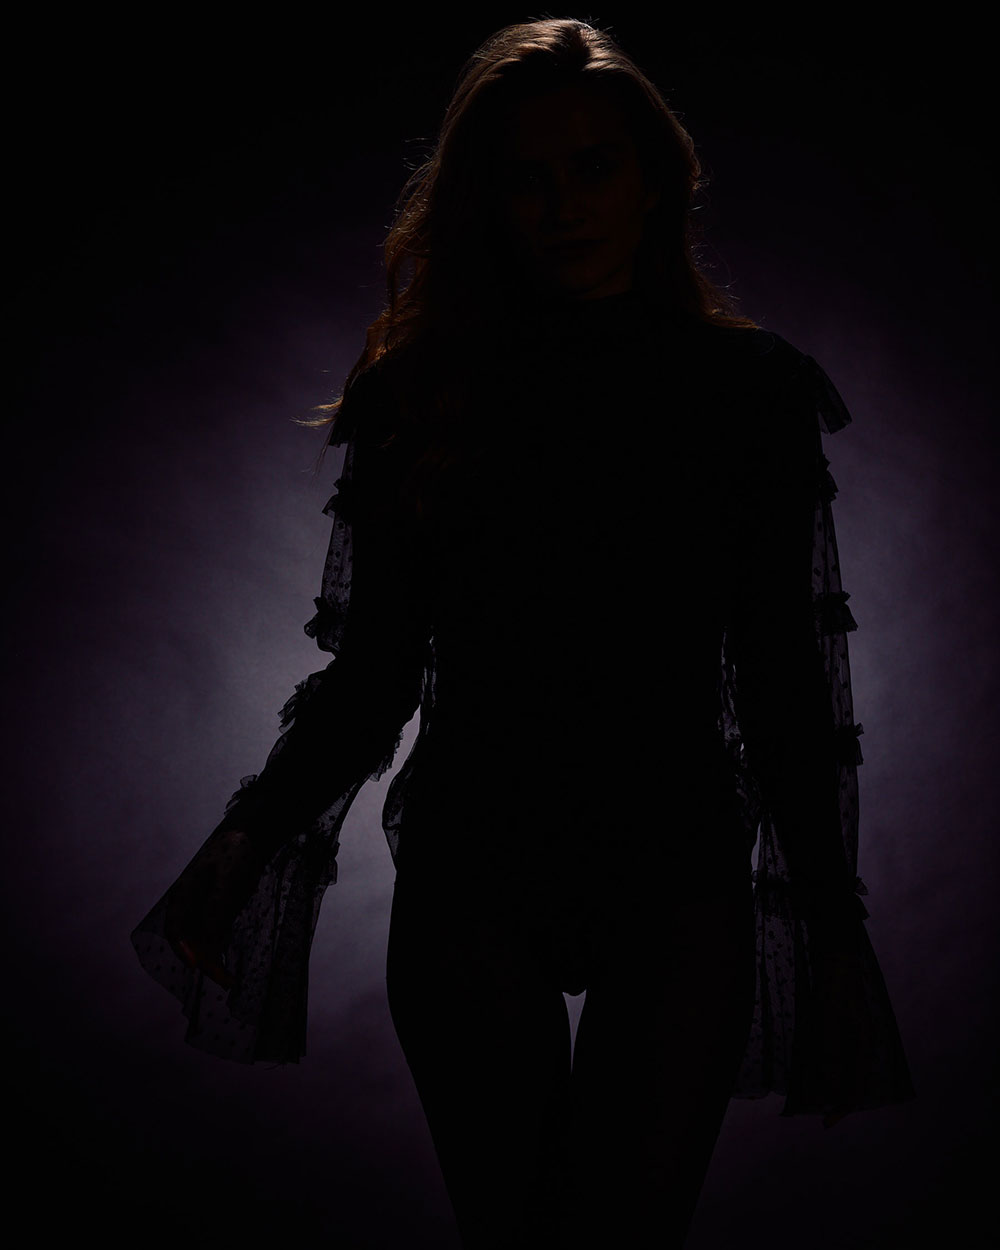
Main light, Background and hair lights, edge lights
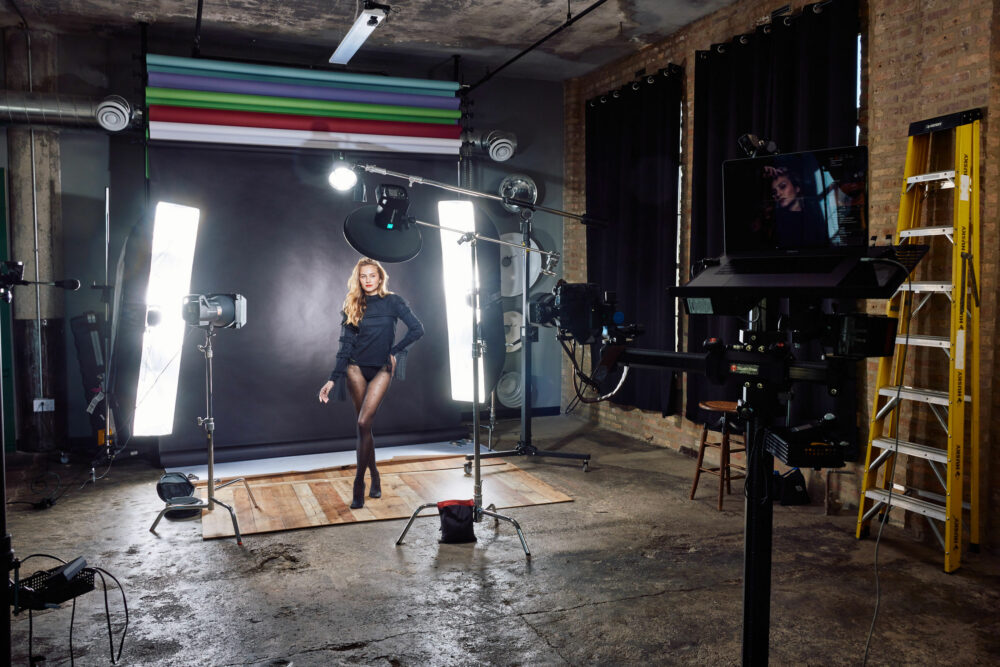
To get a similar look, you could use any of Elinchrom’s strip softboxes without diffusion and a silver deflector inside, or you could use any light with a hard reflector. But it won’t be as even from head to toe as the light from the larger strip softboxes. I might not have needed these edge lights in the first place if I used a gray paper backdrop.
Clamshell
The clamshell setup is widely recognized as one of the most popular ways to use a beauty dish. It features a main light positioned above and a fill source below.
For this setup with Colleen, I boomed a Softlite White Beauty Dish Reflector 70cm (27.6”) above the camera pointed down. Next, to complete the clamshell, I placed a light with a Standard Reflector 21cm (8.3”) under the camera pointed up.
The brightness of your fill source significantly influences the shadows on your subject’s face. To achieve a more youthful look for an older individual, set the fill light so the output from the modifiers matches the intensity of the overhead light. For a younger subject, target a fill that is 2-3 stops darker than the main light. Photographers often utilize a collapsible reflector from below or a 30x90cm (1×3’’) softbox for this purpose. The latter offers enhanced control over fill volume, but both options effectively reduce contrast in your final image. I chose to use a small reflector, centered under the camera because I wanted to fill in the shadow under her chin without affecting the shadows on the sides of her face.
Where you place the fill light is also important. If it’s too close to the model, more light will likely fall on their torso than their neck. So in general place it under your main light, and as high as you can without it being in your frame. You will also want to keep your fill source centered in line with your camera, because if you position it to one side, the shadows on the subject’s face will vary side to side. In this instance, I had to move the fill further away from the model because it was too bright at minimum power.
In this setup, I also added a hair light to create a little separation between her and the background. I used a grid to make sure the modifier’s light did not brighten the top half of the backdrop.Then to finish off the image, I added a strip softbox on both sides of the backdrop to light it evenly. I likely could have avoided using these three lights if I chose a lighter background color, or moved her closer to the backdrop.
Moving Forward
In conclusion, this deep dive on beauty dishes has unveiled a wealth of insights. From dissecting their beam patterns to fine-tuning their placement. Each test and adjustment has added layers to the understanding of these versatile tools. Whether it’s the nuanced contrast of the silver reflectors or the softer tones of white, these beauty dishes offer a palette for shaping light that can complement different subjects and scenarios.
The journey with Sophia and Anelya showcased the dynamic interplay of distance and specularity. Small spaces became our proving grounds, revealing the focused nature of these modifiers and the impact of grids on both shadow and backdrop luminance.
Classic setups like the clamshell reveal the importance of strategic fill light placement. Coleen’s portrait, shaped by a Softlite White Beauty Dish Reflector above and a Standard Reflector below, illustrates the power of this configuration in achieving high contrast yet flattering light.
As we draw the curtain on this exploration, remember that every adjustment, every choice, shapes not just the light but also the narrative of your visual story. Hopefully this article will guide you to make creative choices in the future, as you capture images that not only showcase your subjects beauty, but your mastery of light.
Voir cette publication sur Instagram

